Setting Time Series Data Dissemination Flags
This tutorial explains how to set Data Dissemination Flags to control whether local time series data is sent to CorpsNet, DMZ, or both. While CWMS-Vue is the primary tool for managing these settings, a secondary script-based method is also available.
Dissemination Options and Rules
Each time series is assigned one of three dissemination levels:
- 0: Do not disseminate
- 1: Disseminate to CorpsNet only
- 2: Disseminate to CorpsNet and DMZ (Note: Direct dissemination to DMZ only is not supported)
Dissemination Control (Database Schema 22.2.1)
Dissemination is controlled by two filter switches and time series group assignments:
- Filter to CorpsNet:
- OFF: All time series go to CorpsNet (group assignments ignored).
- ON: Dissemination depends on group assignment (CorpsNet Include List / CorpsNet Exclude List).
- Filter to DMZ:
- OFF (requires CorpsNet filter to also be OFF): All time series go to DMZ (group assignments ignored).
- ON: Dissemination depends on group assignment (DMZ Include List, DMZ Exclude List, and CorpsNet Exclude List).
Managing Dissemination Flags in CWMS-Vue
The main way to manage data dissemination flags is through CWMS-Vue.
- Open CWMS-Vue and log into the database.
- Navigate to the Time Series tab and expand the Data Dissemination category.
- Right-click the target group and select Assign Time Series.

- Check the boxes for all desired Time Series (far left column) and click OK.

- Expand the Group to verify your changes.
Managing Dissemination Flags with Scripts
Use this method as an alternative when standard CWMS-Vue utilities do not meet your workflow needs.
Run the Export Script
- Open CWMS-Vue and run the Export TS Dissemination script.

- Enter a file name (e.g., dissemination_info.txt) and click Save.
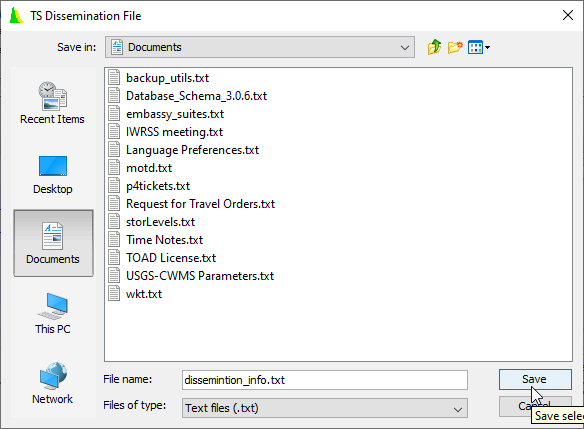
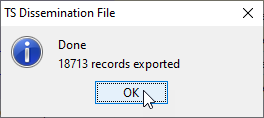
- Click OK once the completion notification appears.
Edit the Dissemination Flags in Excel
- Open a blank workbook in Excel.
- Go to the Data tab and click From Text/CSV in the Get Data section of the ribbon.
- Select your exported text file.
- After the import completes, your workbook should look like this:
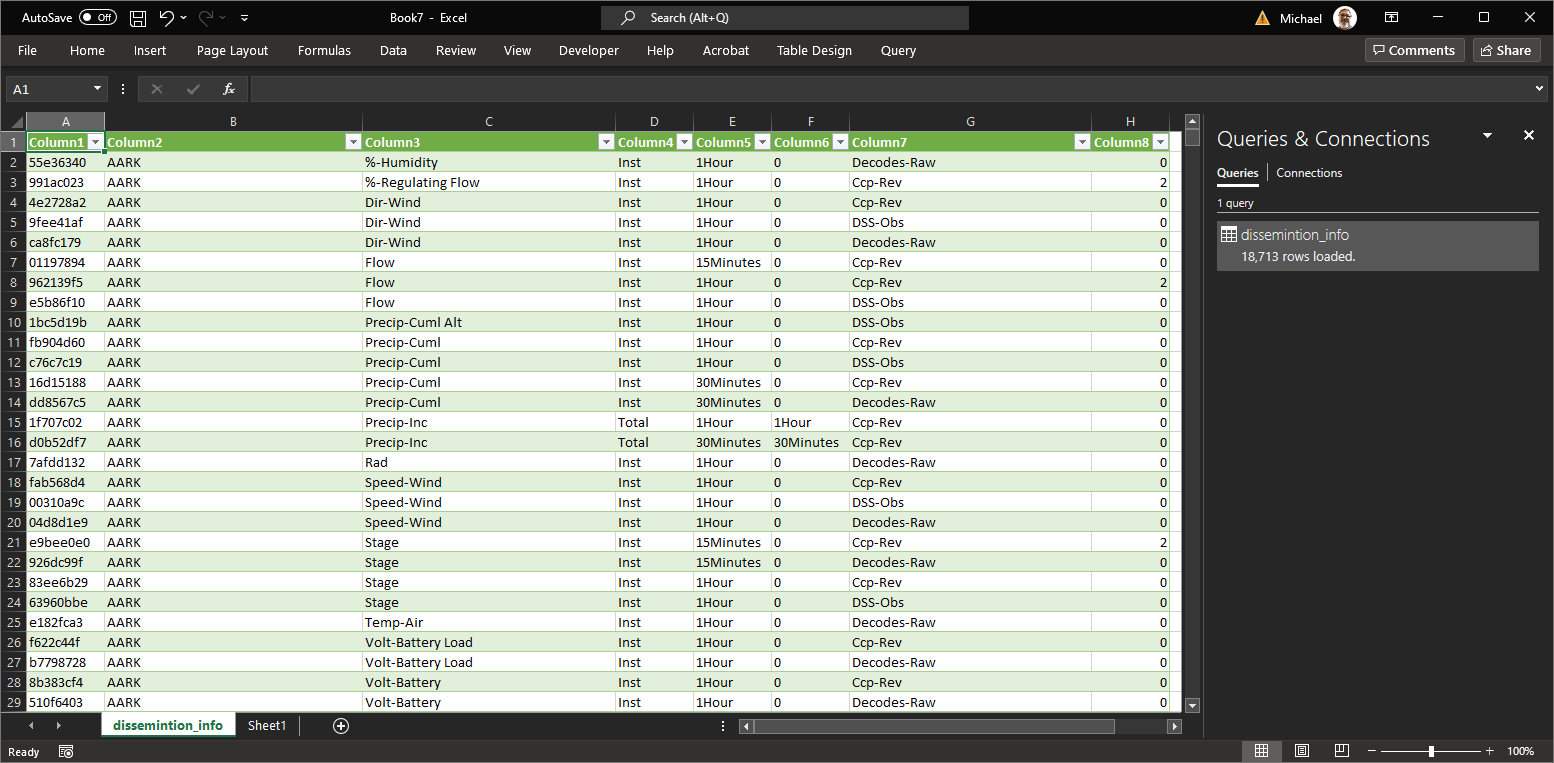
- Use sorting and filtering to find the desired Time Series.
- Update Column8 (Column H) using the destination codes:
- 0 = Do not disseminate
- 1 = Disseminate to CorpsNet only
- 2 = Disseminate to CorpsNet and DMZ
- Go to the File menu and select Save As.
- Enter a file name and select the Text (Tab delimited) (*.txt) file type.
- You can give the file the same name as the text file you created during the export step above.
- A warning will appear, indicating the selected file type does not support workbooks that contain multiple sheets. Click OK to continue.

Important: Do not add, delete, or reorder rows. Only modify values in Column8 (Column H) as instructed above. If an error occurs, simply re-run the export script to start over.
Run the Import Script
- Open CWMS-Vue and run the Import TS Dissemination script.

- Select your modified .txt file and click Open.
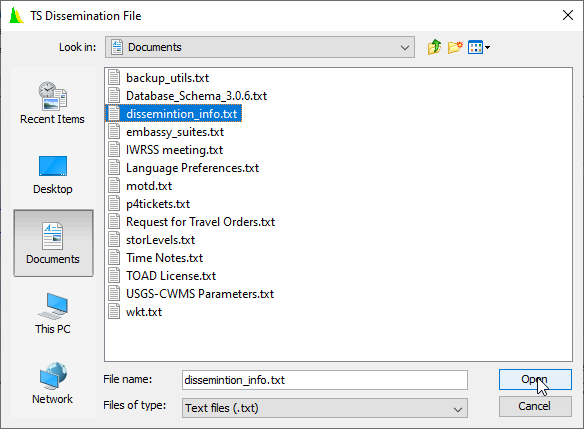
- Click OK to close the completion notification.

- Refresh the catalog in CWMS-Vue to confirm the updates.
