Protecting Data
Once the base data or team forecast is in a state where you do not want others to uploaded changes to it on the master watershed you can set the Protect flag on the data. Setting the Protect flag on watershed data will stop anyone from uploading changes to the master watershed. You can still download the watershed to the local computer and make changes to it, but you will not be able to upload the changes to protected data groups.
Protecting Base Data
To set protect on base data:
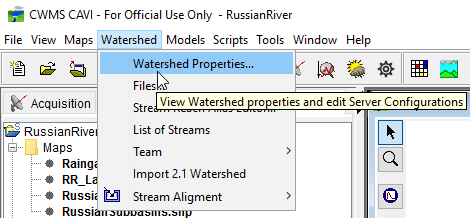
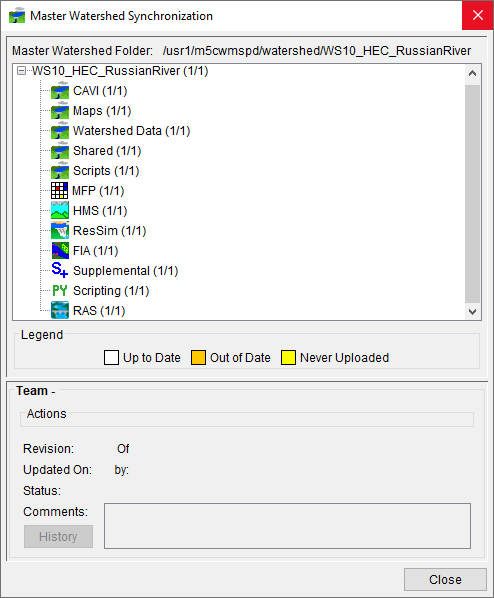
- From the Setup tab, from the Watershed menu, point to Team, click Sync to Master Watershed, the Master Watershed Synchronization dialog will open.
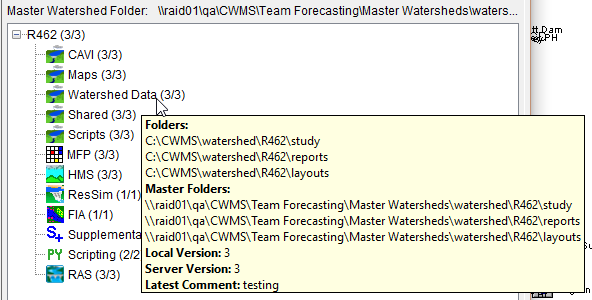
- On the Master Watershed Synchronization dialog, select a data group node in the Synchronization Tree. The bottom of Master Watershed Synchronization dialog) will display information on the selected group.
- Click Protect, the Confirm Protection window (Figure 1) will display. The window is asking you would like to protect the selected data group's folder.

- Click Yes, the Confirm Protection window will close and when the protection process is complete, you will see a real-time notification message at the bottom right-hand of your screen (Figure 2).

- The button's label will change to "UnProtect", meaning the data is now protected from uploads and the Upload button, pictured in Figure 3, will no longer be available when the data node is selected in the Synchronization Tree.

Protecting Forecast Data
To set Protect on forecast data:
- Open a team forecast in the Modeling tab.
- Select the model alternatives or forecast run in the Forecast Tree that you would like to protect. The Team tab located in the bottom tab group will fill with information on the selected data.
- Click the Protect button. A Confirm Protection window (Figure 1) will appear, confirming you would like to protect the forecast or model alternative folder.
- Continue with the protection process by clicking Yes on the Confirm Protection dialog (Figure 1).The dialog will close and when the protection process is complete, you will see a real-time notification message at the bottom right-hand of your screen (like Figure 2).
- The button's label will change to "UnProtect", meaning the data is now protected from uploads and the Upload button, pictured in Figure 4, will no longer be available when the forecast or model alterative is selected in the Forecast Tree.

Unprotecting Data
Unprotecting data is like protecting data, data can be set as "Unprotected". When Unprotect is set, the master watershed will accept uploads to the data group again. Unprotect is only available if the data has been previously protected.
The process is like protecting the data and is described previously. The Protect button displays as an UnProtect button when the protected node is selected in the synchronization or forecast trees. To unprotect data:
- First open the editors you found the Protect button in by following the steps in the previous two sections, Protecting Base Data or Protecting Forecast Data.
- Select the data you would like to turn the protection off for. Then click the UnProtect button. The Confirm Removal dialog (Figure 5), asking to confirm the removal of the protection flag will appear.

- Clicking Yes, the Confirm Removal dialog will close. When the unprotect process is complete, you will see a real-time notification message at the bottom right-hand of your screen (Figure 6).

- The button's label will change to "Protect", meaning the master watershed is now accepting uploads for that data. The Upload button will be available when the data is selected in the tree.