Importing and Exporting SHEF Data
The Standard Hydrologic Exchange Format (SHEF) is a text based format developed by the National Weather Service (NWS) for exchange of real time operational data with other agencies. SHEF was adopted by mutual agreement for exchange of data between NWS and the Corps of Engineers.
The import/export SHEF features are built into HEC-DSSVue, and require Python to be installed on your system.
Version 3.4.8 and higher
- Shef importing was updated in version 3.4.8 to support longer DSS path part names. For example the C part was previously limited to 18 characters. When you install HEC-DSSVue please rename the dssvue config directory; this will cause a new config directory to be created. For example: rename C:\Users\username\Application Data\HEC\HEC-DSSVue\config to C:\Users\username\Application Data\HEC\HEC-DSSVue\config.backup, before starting HEC-DSSVue.
SHEF Table Files
The implementation of the import and export of SHEF data in HEC-DSSVue uses a python script and config files as shown below. These files are required to access the import/export capability; sample files are distributed with HEC-DSSVue.
| file | description |
|---|---|
| shefParser | Python script that comes with HEC-DSSVue |
| ShefParm | Defines Shef parameter codes (leave blank for defaults) |
| Sensor | relates SHEF physical element (PE) codes to DSS parameters (C part) |
| Parameter | relates station identifiers to observation frequencies and pathname parts |
The SHEF sample table files are distributed with HEC-DSSVue and stored in the users application directory under HEC-DSSVue (the location of the application directory is dependent on the operating system). You can browse to these files and edit the files, from the Advanced menu, click Program Options, the Options dialog box will open (below). Click the SHEF tab, information from the dialog box will show the location of the SHEF sample table files. If you have existing files from SHFDSS, you can use those in HEC-DSSVue. 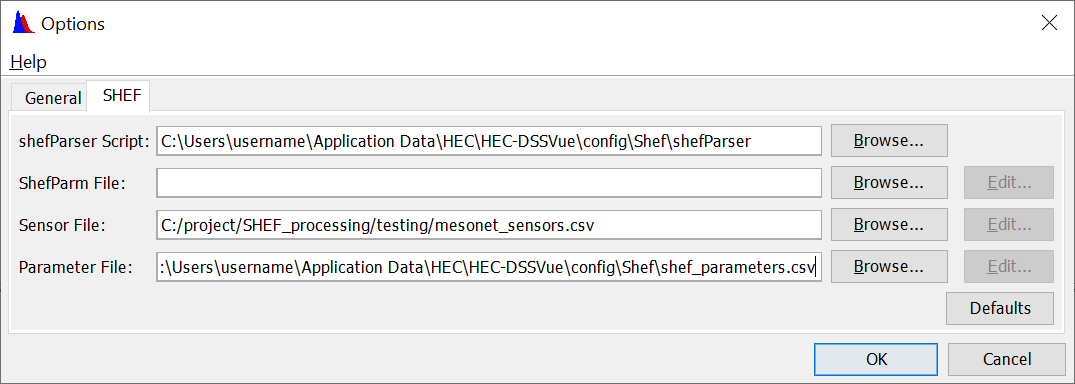
SHEFPARM
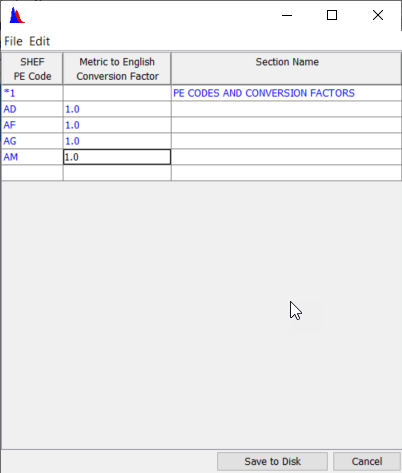
The SHEFPARM file contains SHEF PE (Physical Element) codes and the metric - English conversion factor. Generally, the supplied file should be sufficient unless newer PE codes are being used. To edit the SHEFPARM file, from the Options dialog box, with the SHEF tab clicked (above), click Edit that is next to the ShefParm File box. A dialog box will open (below), which will allow the user to edit the SHEFPARM file. In this table, the first column contains the PE code and the second column contains the Metric to English conversion factor, if there is no factor, set this cell to 1.0.
Parameter File – shfdssp
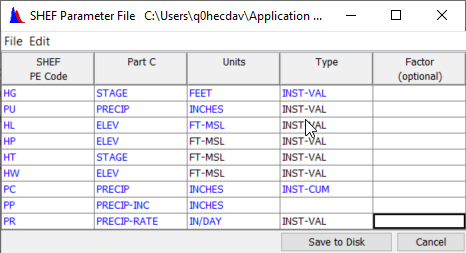
The parameter file links the HEC-DSS "C" part (the parameter), the data units, and type to the SHEF parameter (PE). To edit the parameter file, from the Options dialog box, with the SHEF tab clicked (see Figure 5.14, page 5-12), click Edit that is next to the Parameter File box. The SHEF Parameter File dialog box will open (below) which will allow the user to edit the parameter file. From the SHEF PE Code column of the table edit the PE code; from the Part C column edit the C Part of the DSS pathname, the units for the PE code can be edited in the Units column, the type of for the PE code can be edited in the Type column, and from the Factor column, an optional factor to multiply the data by (e.g., kilo-cfs might have a factor of 1000.0 and store the data in HEC-DSS as cfs) can be entered. The sample parameter file that is distributed with HEC-DSSVue should be relatively complete.
Sensor File – shfdsss
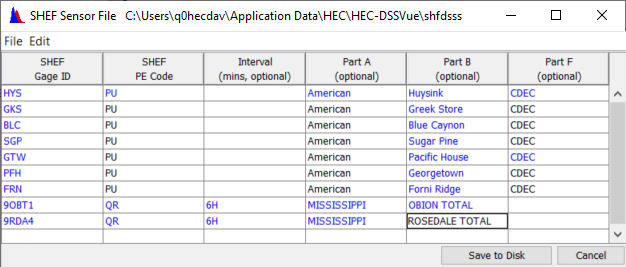
The SHEF sensor file links the SHEF gage ID to the HEC-DSS A, B, and F parts. To edit the parameter file, from the Options dialog box, with the SHEF tab clicked, click Edit that is next to the Sensor File box. The SHEF Sensor File dialog box will open (below), which will allow the user to edit the sensor file. For each Gage ID and PE code, a row should exist with the Gage ID in column 1, the PE code in column 2, an optional time interval in column 3, the A part (basin) in column 4, the B part (location) in column 5, and the F part (version) in column 6. If no time interval is given, the data interval is assumed to be irregular. If a time interval is provided, is should end with "M" for minutes (e.g. 15M), or "H" for hours (e.g., 6H). If an entry does not exist for the data type being imported, default values are used.
Importing SHEF Data
Once the SHEF tables are setup, you can import SHEF data by either dragging SHEF files with an extension of ".shef" or "".shf" from Windows Explorer and dropping them into the main screen of HEC-DSSVue with an open HEC-DSS file or from the Data Entry menu.
To import SHEF data files into HEC-DSS:
1. From the Data Entry menu, point to Import, click SHEF.
2.An Open file Dialog will open, navigate to a directory and select the files you wish to import. Select the files to import, click Open. You can import multiple files at one time. The file extensions do not matter for this option (the files do not need to end with ".shef").
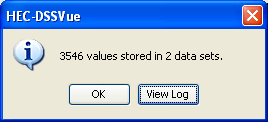
3. A message window will open (below); this window will display how many values were stored from the SHEF data sets. You can view the SHEF process log by clicking View Log.
Or, alternatively you can import SHEF files if they have the extension ".shef" or ".shf" by:
1.From Windows Explorer, select the ".shf" or ".shef" files that you wish to import (below) 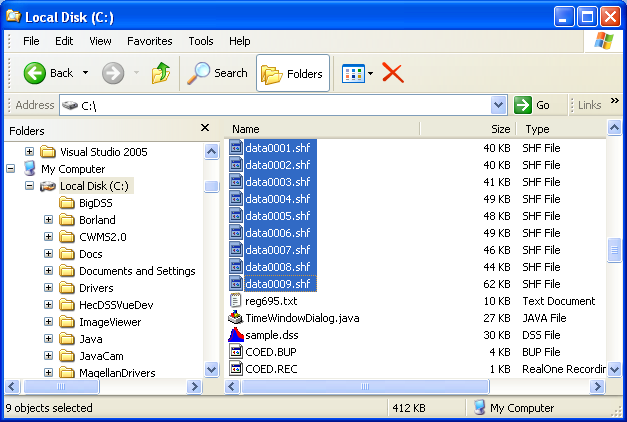
2. "Drag" the files onto the main HEC-DSSVue screen (with your HEC-DSS file that you want to import to opened.)
3. The data is imported and a message window will open, this window will display how many values were stored from the SHEF data sets. You can view the SHEF process log by clicking View Log.
Exporting SHEF
You can export SHEF data by:
1.Select the pathnames for the data sets that you want to export, then from the Data Entry menu, point to Export, click SHEF.
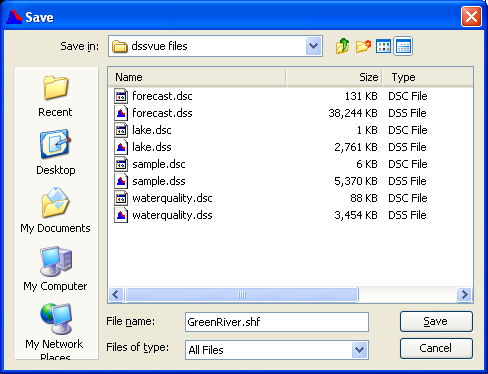
2.A Save browser will be open (below), navigate to the directory where you want the exported SHEF data to be, type the name of file in the File name box, click Save. All data will be saved in one file. 