GeoEFM 3.0 is a toolbox for ArcGIS Pro. GeoEFM 3.0 is used with an advanced level license for Pro. Spatial Analyst and 3D Analyst extensions must be installed and activated.
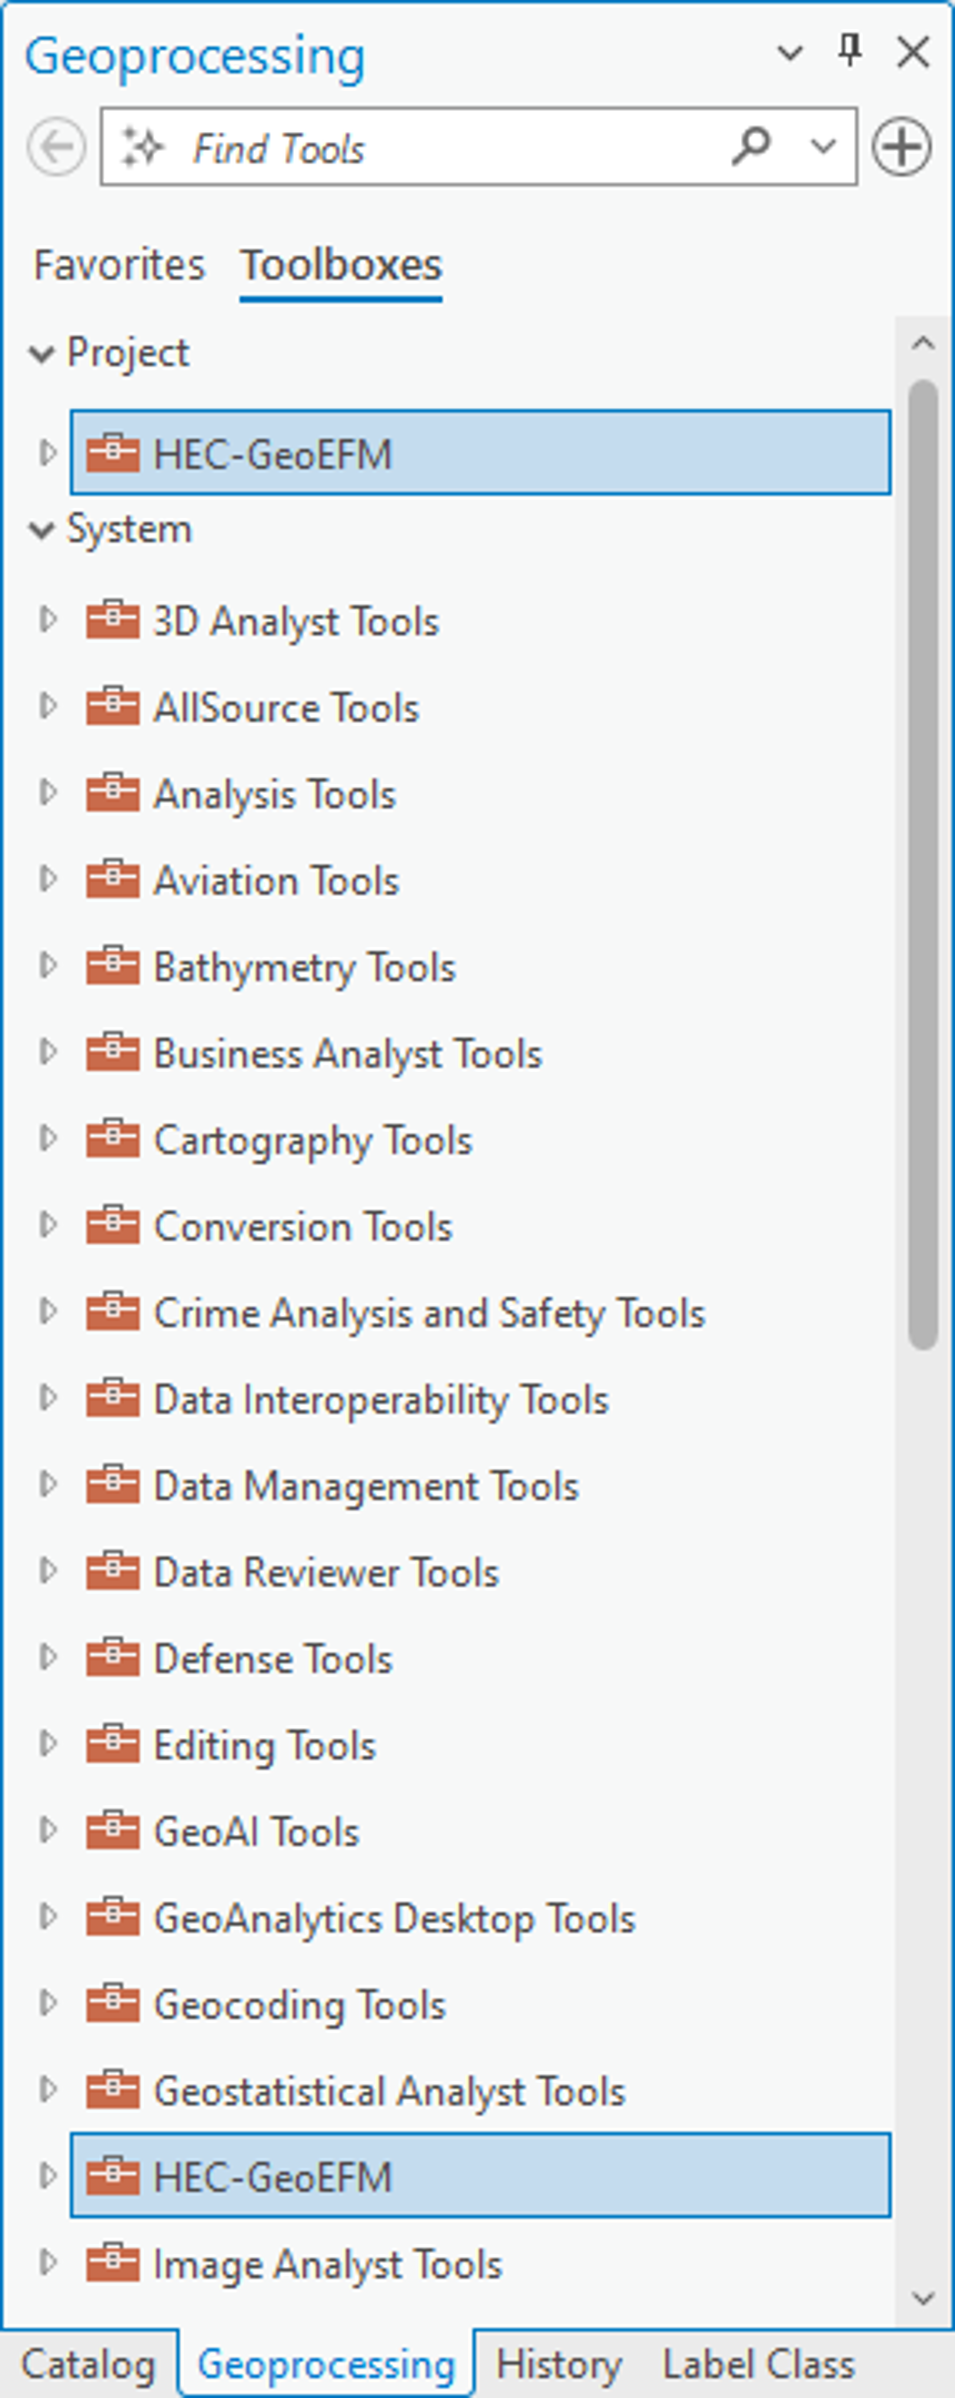
There are two ways to install GeoEFM 3.0. The first is via a windows install package (HEC-GeoEFM_3.0.034_Setup.msi). Using the installer requires administrative privileges and installs GeoEFM as a system toolbox for Pro (Figure 3). The second is by extracting GeoEFM from a compressed file (GeoEFM_3.0.034.zip) and then inserting the extracted GeoEFM toolbox (HEC-GeoEFM.atbx) into the desired Pro project. The toolbox can be added via the Insert - Toolbox - Add Toolbox feature in Pro.
After installation, the GeoEFM toolbox can be accessed via the list of system toolboxes (when GeoEFM installed via the install package) or via the list of project toolboxes (when GeoEFM installed from the compressed file and then added to the Pro project). Figure 3 shows both.

Figure 3. GeoEFM toolbox installed as a Project toolbox (top) and as a System toolbox (bottom).
Typically, GeoEFM applications begin with layers generated during the hydraulic modeling phase of the EFM process as well as other relevant data such as maps of land use, soils, and vegetation. The GeoEFM toolbox (Figure 4) has four toolsets (Manage Project, Patches, Reporting, and Splicing) with 10 tools that involve python scripts containing the code that determines the functionality of the tools. Each tool is detailed in this user guidance. A basic overview of GeoEFM 3.0 is that it can be used to share information from an EFM project to a GeoEFM project (via Manage Project), assess habitat functionality (via Patches), compute and compare habitat areas (via Reporting - Tabulate Areas), apply habitat suitability indices (via Reporting - HSI Calculator), and create habitat mosaics (via Splicing).

Figure 4. Key components of the GeoEFM toolbox.
Project toolboxes can also be identified as “favorites” or as toolboxes to be “added to new projects”. To do this, go to the Catalog tab in Pro (Figure 3), click on the “Project” header, right click on “folders”, select the “Add Folder Connection” menu option, browse to the folder that contains the GeoEFM toolbox (usually /xtoolboxes/), and click OK. The toolbox folder should appear as a subfolder. Right click on that folder and select the “Add To Favorites” or “Add to New Projects” menu option. Favorites will appear under the Favorites header for quick access. Toolbox folders identified as “Add to New Projects” will be automatically added to new instances of Pro.