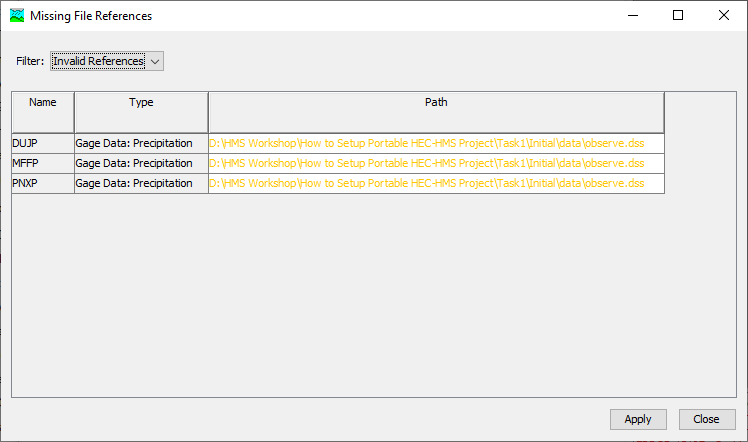
This tutorial is designed to help new users of HEC-HMS learn how to setup and create a portable HEC-HMS model. A portable HEC-HMS model contains all of the data files within the project folder that can be zipped and transferred to another computer. By including the external data files under the HEC-HMS project folder, the user will prevent missing file messages as shown below and the need to repair HEC-DSS pathnames and GIS file pathnames to shapefile. When creating an HEC-HMS project, it is a best practice to place all external DSS files and GIS files. HEC-HMS will use a relative pathname when these external files are located within the project directly. One suggestion is to create a "data" folder to store DSS files and a "maps" folder for background shapefiles (HEC-HMS already creates these directories for you).
Overview
In this tutorial, you will perform two tasks to develop a portable HEC-HMS project: 1) Setup a Portable HEC-HMS Model and 2) Save as a Portable HEC-HMS Model.
Task 1: Setup a Portable HEC-HMS
For this task, you will move the external data folder inside the project folder.
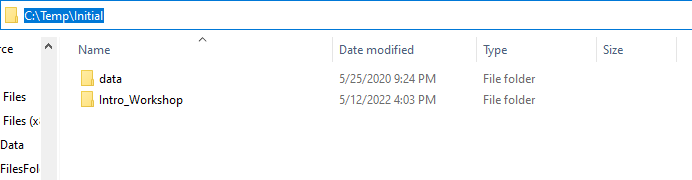
Make sure HEC-HMS is closed. Open File Explorer and go the HEC-HMS project folder as shown below.
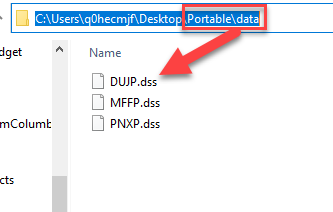
Move the files in the data folder inside the data folder within the HEC-HMS project folder, Intro_Workshop, as shown below.
Open the Intro_Workshop HEC-HMS project.
You will see a Missing File Reference window as shown below. The yellow text color indicates the file path is located outside of the project directory.
Edit the file paths for all three gages and locate the observed.dss file in the ...\Intro_Workshop\data directory. Once you select the appropriate DSS file and click the Apply button you will notice the text color changes to black. This color indicates the selected file is located within the project directory. You can move the project to any location on your computer or another computer, the program will be able to find the observe.dss file.
Download the initial HEC-HMS project files here -Initial.zip
For this task, you will use the Save As option to create a portable copy of the HEC-HMS project.
Download the project and unzip the zip file to the C:\Temp directory. The following figure shows the project files in the correct location. The precipitation gages have a pathname to the observe.dss file in the C:\Temp\Initial\data directory. This file is located outside of the project directory so the complete pathname is saved.
Open the project.
Go to File menu and select Save As.
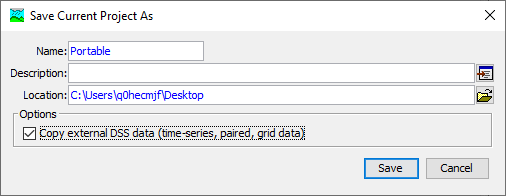
Choose a new project Name and Location.
Check the box to Copy external DSS data (time-series, paired, grid data)
Click Save as shown below.
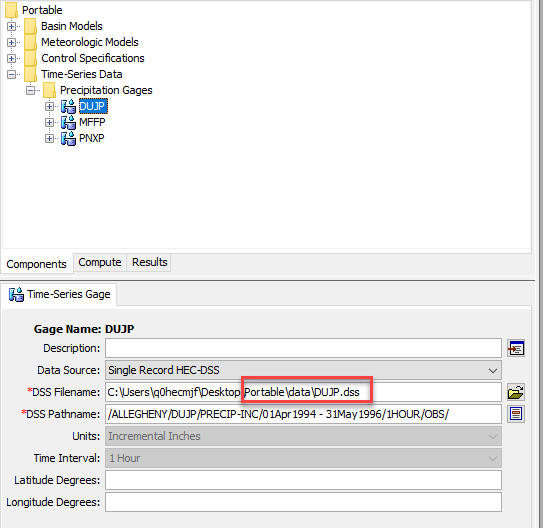
HEC-HMS will create a new portable HEC-HMS model with a data folder as shown in the figures below. A separate DSS file will be created for each time-series gage, as well as each paired data curve and grid.
Save the project. Now the project can be moved to any location on your computer or another computer and the data will be moved with it.
Download the final HEC-HMS project files here -Portable.zip