The Gridded Data Importer utility is launched from the File | Import | Gridded Data menu in HEC-HMS.
A project does not have to be open to access the Gridded Data Importer.
Step 1: Select Files
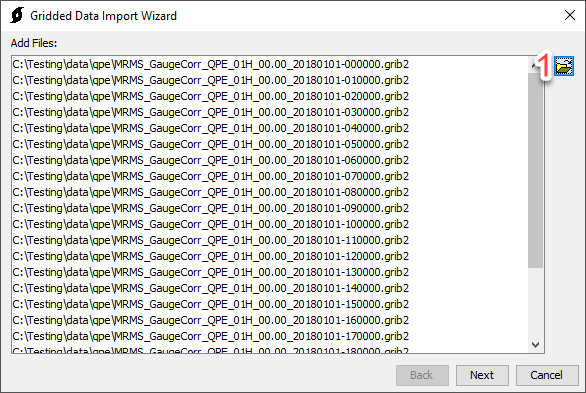
Select files using the File Browse button (1). One or more files can be selected. Files can be removed by selecting the file and pressing the delete button on the keyboard.
Step 2: Select Variables
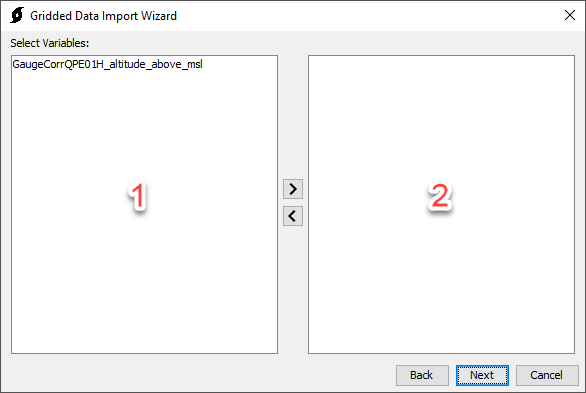
The pane on the left (1) includes a set of Variables that were found when scanning through the files. The pane on the right (2) includes variables that have been selected for import. Variables can be moved from the Available Variables column to the Selected Variables column by double-clicking the variable or using the arrows to move the selected variable. At least one variable must be selected to proceed.
Step 3: Select Re-sampling Options
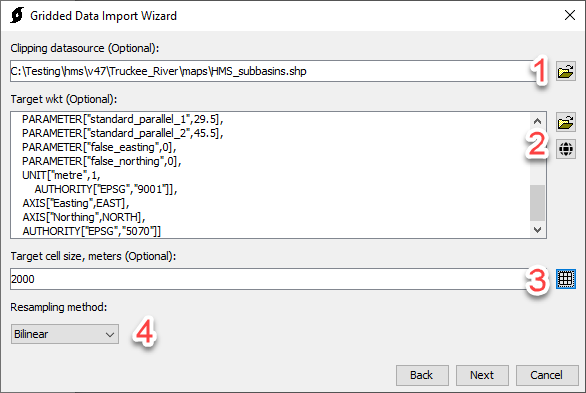
An Optional Clipping Data Source can be selected (1). The clipping data source will be used to clip the grids on import.
An Optional Target Projection Well-Known-Text (WKT) string can be provided. The target WKT specifies the projection that the incoming grids will be reprojected to. A projection, *.prj, file can be selected using the File Browse button. The Globe icon (2) can be used to select common SHG or UTM projections.
An Optional Target Cell Size can be specified. The target cell size is the size that the incoming grids will be resampled to. The grid button (3) can be used to select from a list of common grid cell sizes.
A Resampling Method can be specified (4). Resampling options include Bilinear, Nearest Neighbor, and Average.
Step 4: Select Destination
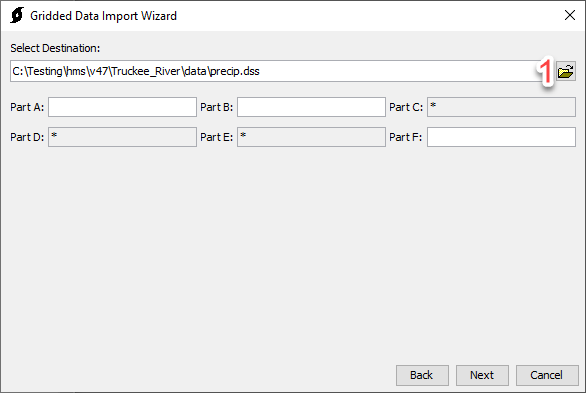
The File Browse button (1) can be used to browse to a Destination file. If the destination file is HEC-DSS format, additional options are presented for specifying pathname parts. Some pathname parts can not be edited and will be populated automatically.
Step 5: Processing
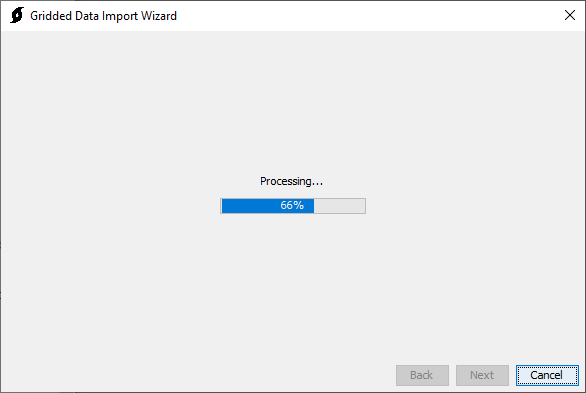
After Next has been selected in Step 4, a progress bar will display, indicating the progress of the import.
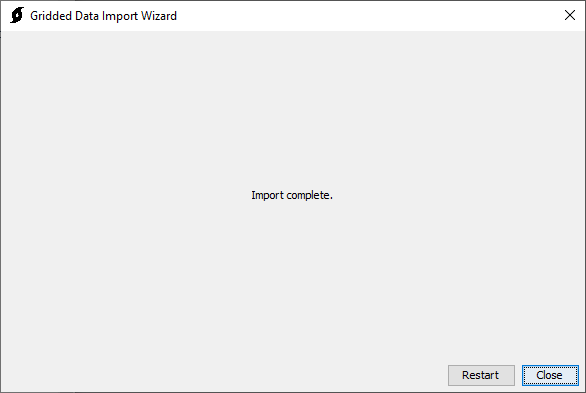
Step 6: Import Complete
After the import is complete, the wizard will automatically progress to step 6, indicating that the import is complete. There are buttons to Restart or Close the wizard. The gridded data will be saved to the user-selected DSS file (chosen in step 4). The user will need to create a gridded data object within the HEC-HMS project and link the object to one of the grid data records in the DSS file in order to use the gridded data within an HEC-HMS simulation.
