The Image Export utility exports gridded data from HEC-DSS format to image formats.
The Image Export utility is launched from the Tools | Data | Image Exporter menu in HEC-HMS.
A project does not have to be open to access the Image Exporter.
Step 1: Select Source Variables
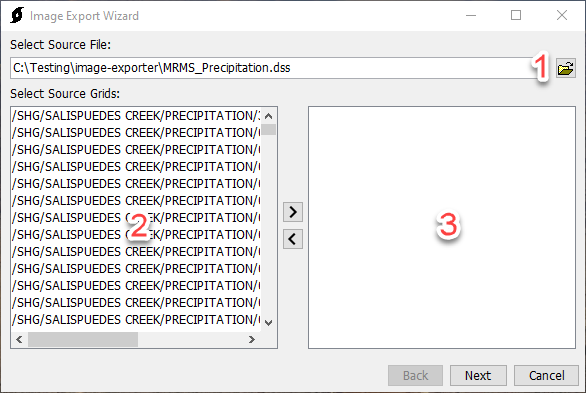
Select a Source Grid file using the File Browse button (1). When a source file is selected, its variables will be displayed in the Source Grids column (2). Grids can be moved from the Source Grids column to the Selected Grids column (2 to 3) by double-clicking the variable or using the arrows to move the selected variable.

At least one source grid must be selected to proceed.
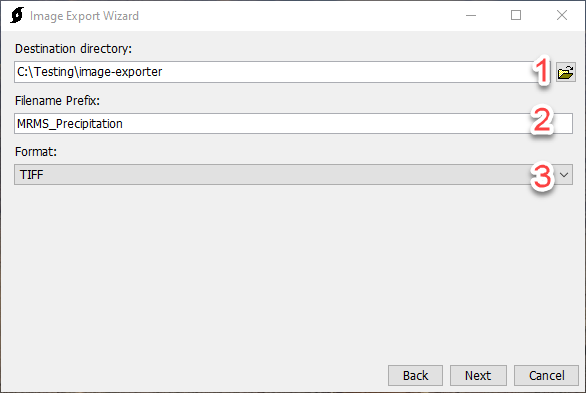
(1) Set the Destination directory. By default, this will be set to the directory containing the Source file.
(2) Set a Filename Prefix. By default, this will be set to the name of the Source file.
(3) Select a Format. Options are TIFF and ASC.

Step 3: Processing
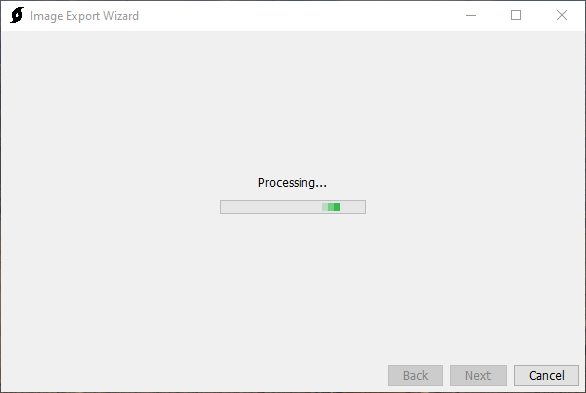
After Next has been selected in Step 2, a progress bar will display, indicating the progress of the operation.

Step 4: Image Export Complete
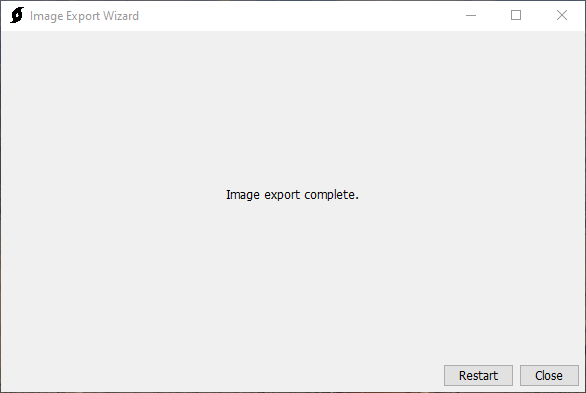
After the export is complete, the wizard will automatically progress to step 4, indicating that the export is complete. There are buttons to Restart or Close the wizard. The result of the export will be saved to the user-selected directory (chosen in step 2).

Step 5: File Saved
After closing the Image Export Wizard, a File Saved dialog will display the location of the saved images with options to Copy and Open the directory.
