The user can attach a picture to any cross section or hydraulic structure (bridge, culvert, etc.). Once pictures are attached, they can be viewed from a picture viewer within the HEC-RAS geometric data editor. The picture viewer supports the following graphics formats: bit map (.bmp); icon (.ico); windows metafile (.wmf); GIF (.gif); and JPEG (*.jpg).
Pictures are attached to cross sections or hydraulic structures from within the picture viewer. To bring up the picture viewer, go to the geometric data editor and click on the View Picture button with the left mouse button. An editor will appear as shown in Figure 5-133. To attach a picture to a particular river station, first select the River, Reach, and River Station in which you would like to attach the picture. Next select the Add Picture button, and a file selection box will appear allowing you to select a graphics file to attach to the selected location. If the picture file is not in the same location as your data files, you can select the drive and path of the picture from within the file selection box. Once a graphic file is located and selected, press the Open button to attach it to the selected location. The picture should automatically show up inside of the picture viewer. An example picture is shown in Figure 5-134. Additional pictures can be added by selecting a different location, then select the Add Picture button to attach the picture. Only one picture can be attached to a model object.
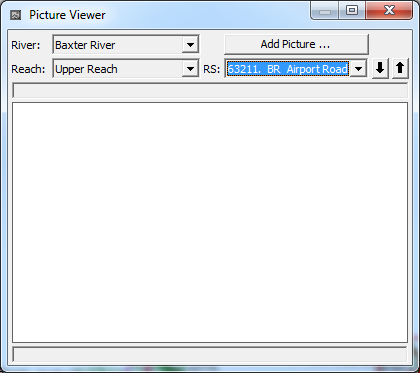
Figure 5 133. HEC-RAS Picture Viewer
Once pictures are attached to the viewer, the user can move to different pictures by using the up and down arrow buttons, or selecting a specific river stationing that has a picture attached to it. Options are available to zoom in, zoom full, and Pan by right clicking on the picture. Additionally, when a picture is loaded, the Add Picture button changes to Remove Picture in order to delete it. The user can resize the picture viewer to whatever size they want. However, if you are viewing a bitmap picture, and you make the window larger than the actual picture resolution, the photo will begin to distort.
Once pictures are attached to the geometry file, a small red square will be displayed on the river system schematic at each location where a picture exists. When the user clicks the left mouse button over a cross section, a pop up menu will appear. If that particular cross section has a picture attached to it, one of the menu options will be to view the picture. Selecting the View Picture option from the pop up menu will bring up the picture viewer and automatically load that particular picture.
The pictures are stored as part of the geometry data (not the actual picture, but its location on the hard disk). In general, it is a good idea to keep the picture files in the same directory as your project data files. This will make it easier to keep track of all the files associated with a particular project.

Figure 5 134. Picture Viewer with Example Bit Map Photo