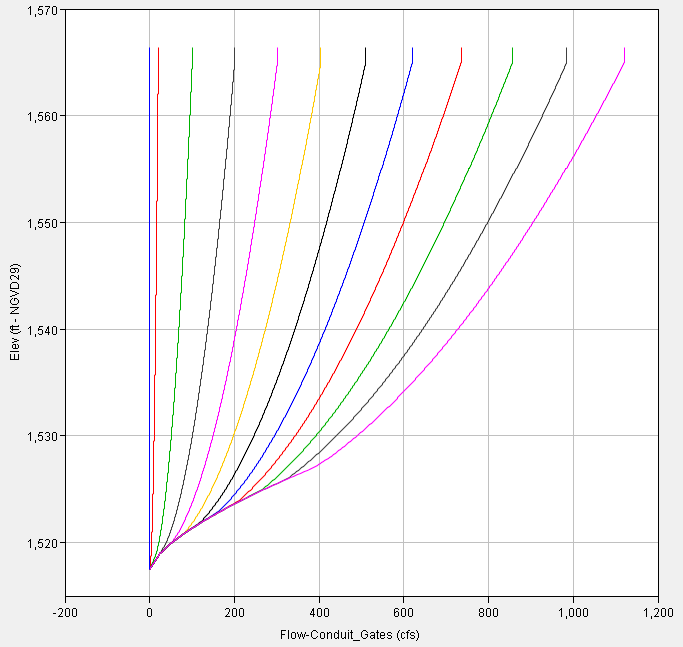
The Rating Plot graphically represents the rating data as the rating curve. When the rating has multiple independent parameters, the complete family of curves will be displayed in the Rating Plot. For example, in the figure below, with a rating of gate openings, and the current elevation and their effect on the flow, there will be a family of curves for the number of intervals for the gate openings). The Rating Plot functions differently depending on the which Rating Editor Tab is selected. Plot lines are drawn to use enough rating values to accurately show the rating line at any zoom level. As you zoom in, the same number of points are rated for the smaller window.

The Rating Plot has a set of tools that allows you to edit the rating curve data directly on the plot. The availability of these tools may differ depending on what Rating Editor Tab is selected. The available tools for the Rating Plot are:
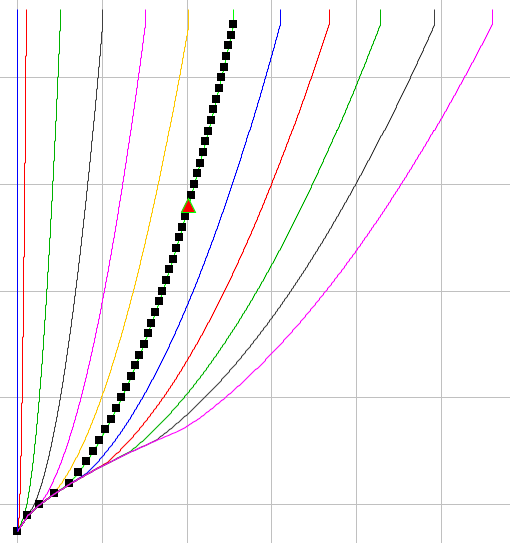
The Pointer Tool is available from all the Rating Editor Tabs. When a curve is selected with the Pointer Tool, all data points on the rating curve will be represented with black squares. The particular data point or points selected are shown as red triangles in the plot and highlighted in blue in the Rating Data Table. You can select multiple data points along a single curve by holding down the shift key when left-clicking. To select all data points on a curve, click on the maximum or minimum point of the curve, hold the shift key and click on the opposite end point of the curve. The Pointer tool can also be used to access right-click menu plot display options for the viewport (graph area), axes, and legend.

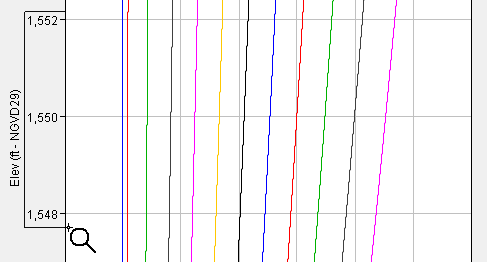
The Zoom Tool may be used to zoom in and out of the plot window. This tool is available from all of the Rating Editor Tabs. With this tool, the rating curve's data may be examined more closely. The Zoom Tool may also be used to close-in on a smaller range of values for an axis. For example, if you need to limit the plot to a range of 1,548 feet to 1,552 feet (as shown in the figure below), use the Zoom Tool and drag it from the maximum range to the minimum range, and the plot of the rating curve(s) will resize. To return to the original range of axis values, left-click using the Zoom Tool until the view returns to the original display.

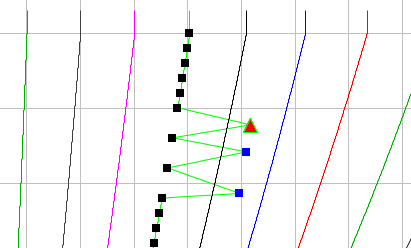
By default, the Point-Editor Tool is selected when a Rating Editor Window is opened. The Point-Editor Tool can be used to select and edit the data points of a rating curve. When a rating curve is selected with the Point-Editor Tool, all data points on the curve will be represented by black squares. The particular data point selected is shown as a red triangle. The selected point can be dragged to graphically edit the rating curve data. Multiple points can be selected through the Rating Data Table. Any edits made in the plot are immediately reflected in the table. These changes are not committed to the database until they are saved.
