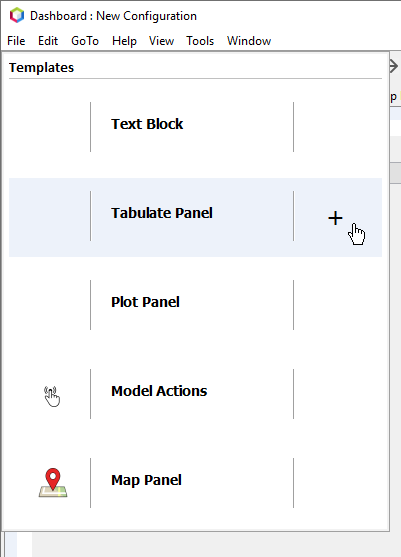
The CAVI Dashboard can be configured in various ways to best suit your needs. There are five types of widgets available within the Dashboard: Text Block, Tabulate Panel, Plot Panel, Model Actions, and Map Panel. The widgets are discussed in more detail later. To customize your Dashboard, select the Add Widget option under the File menu. The File menu also allows you to create new configurations and save the current configuration. You can create new configurations to help stay organized while using the Dashboard. Each configuration will be available in the drop down menu located under the ribbon at the top of the window.
Configurations
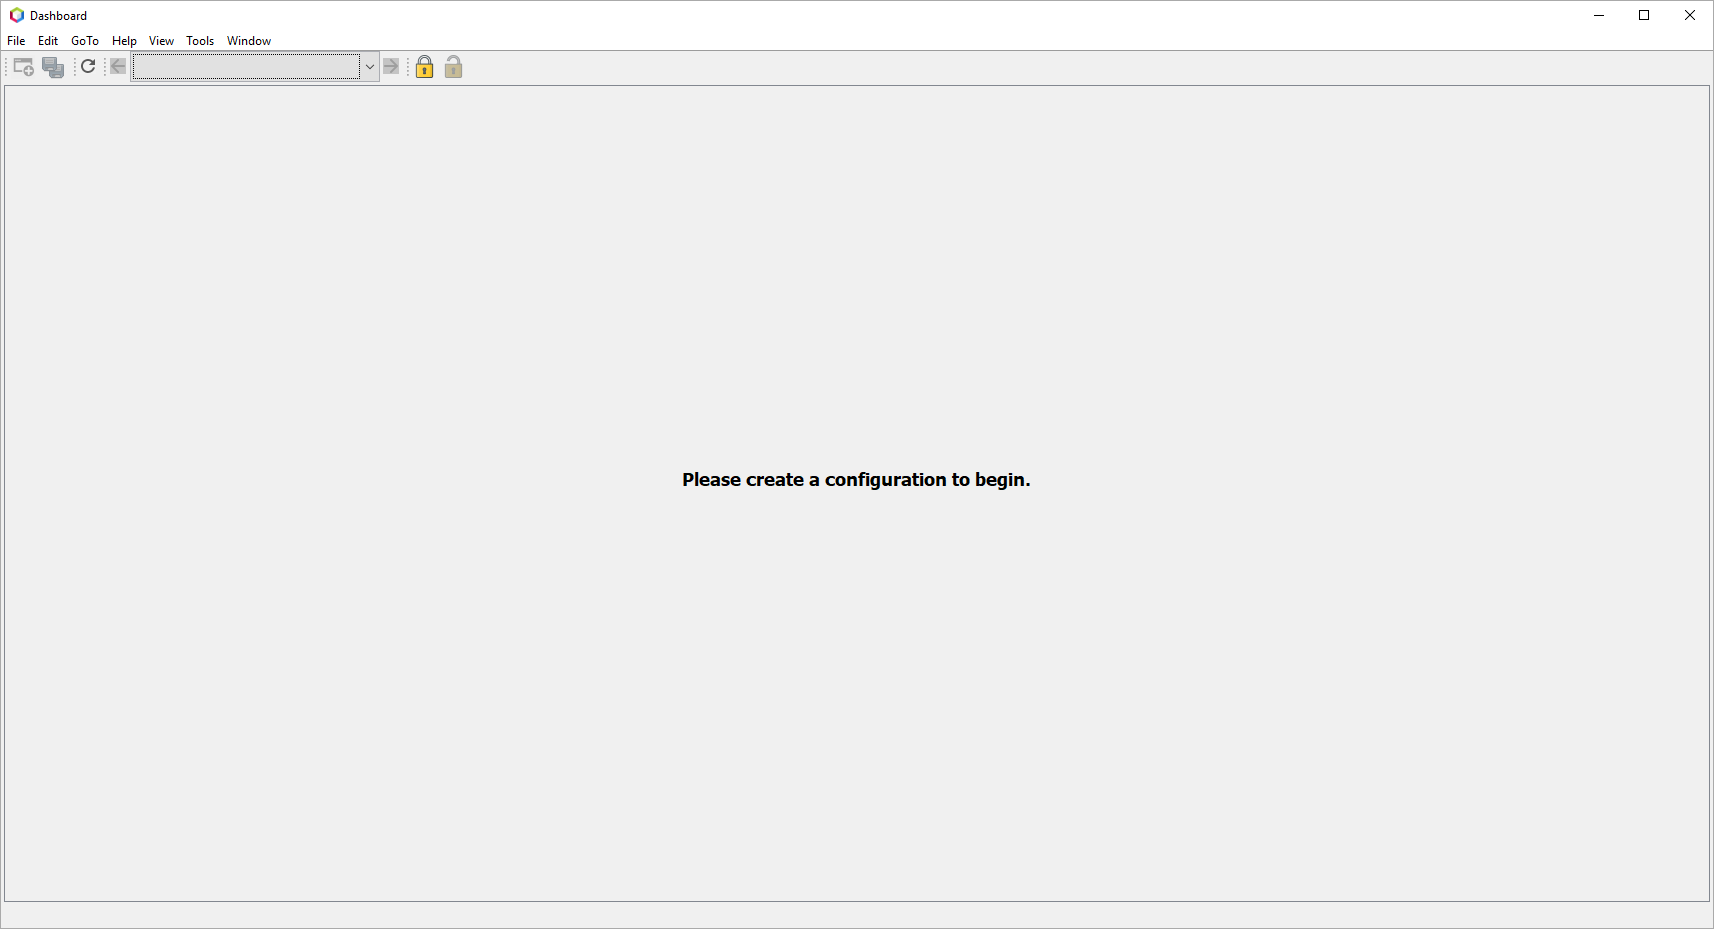
To get started, you must first create a new configuration. Under the File menu, select New Configuration. In the dialog box that appears, enter a name for the new configuration. Now you can start to customize this configuration by adding widgets to your Dashboard. Under the File menu, select Add Widget. You can select any option from the menu and the widget will be added, but the window will remain open until you click outside of the Templates menu. This allows you to add as many widgets as needed simultaneously. See the following pages for more information on how to customize each individual panel.
Once you have the configuration set up as desired, you have the ability to lock and unlock the Dashboard. The Lock Dashboard and Edit Mode options can be found under the Edit menu within the main ribbon, as seen in the figure below. There are also shortcut icons within the toolbar that will allow you to lock and unlock the configuration. The Lock Dashboard function prevents you from editing, moving, or deleting the widget panels. The Edit Mode allows you to edit, move, or delete the widget panels.

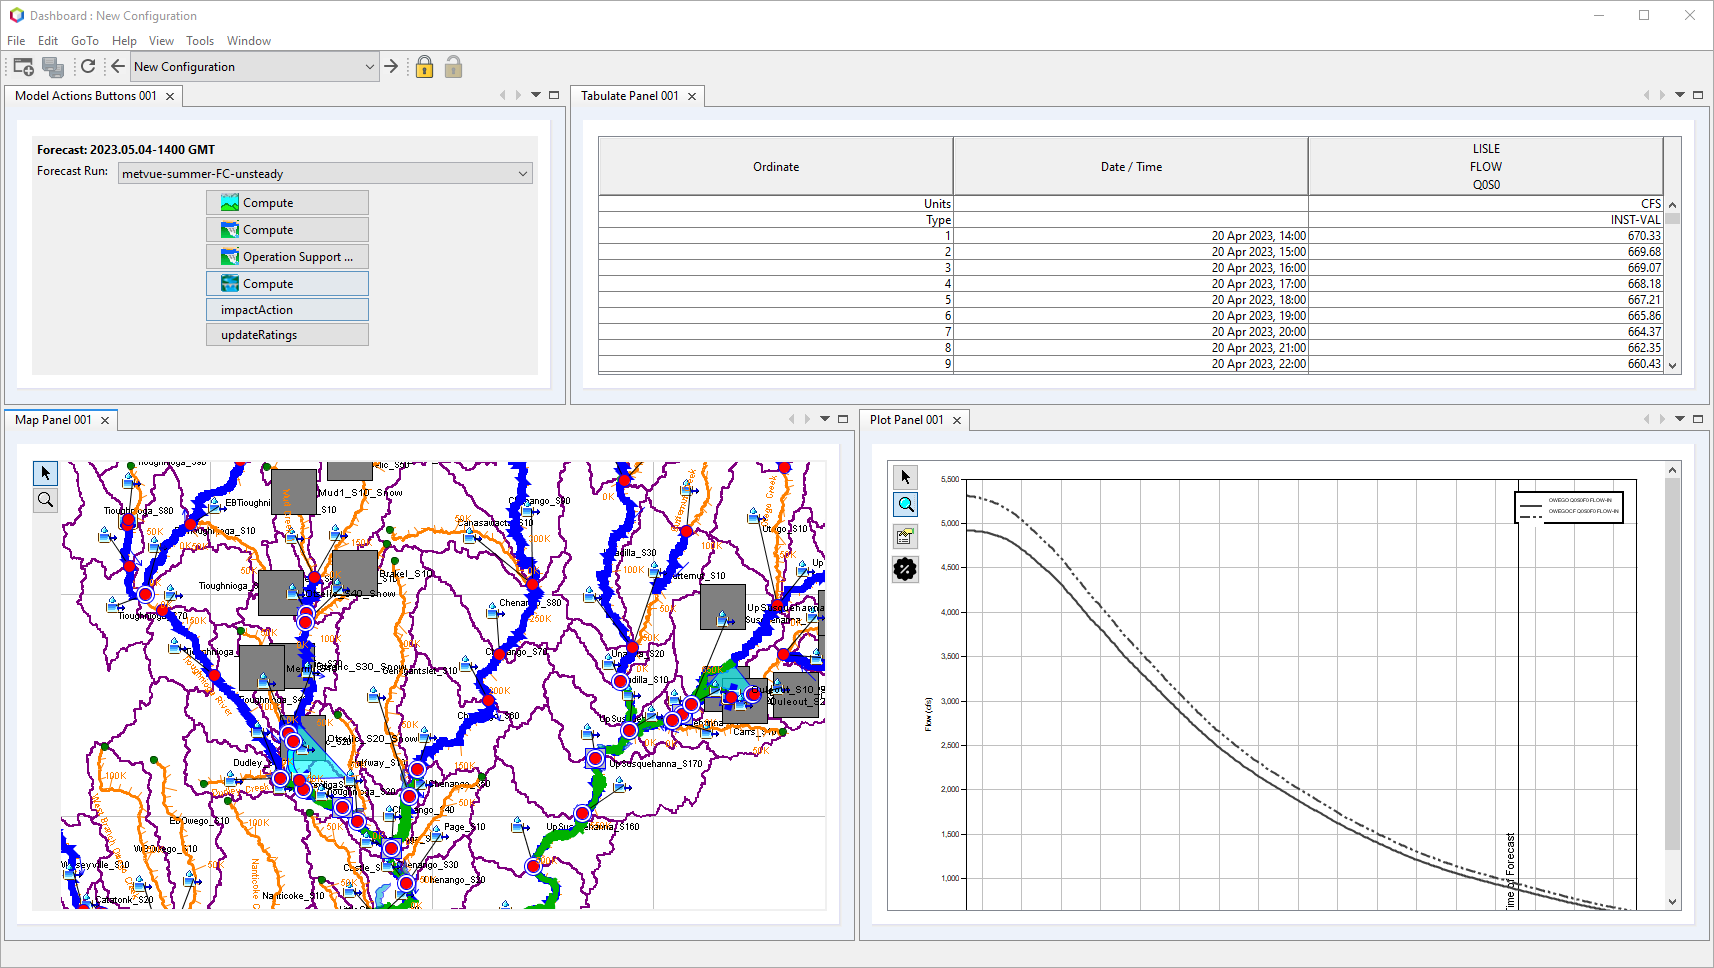
By default, new widgets are added as tabs at the top of the Dashboard window. Click on the tab you wish to view or edit. You can move the tabs around within the Dashboard to fit your needs. Grab the tab and drag/drop it into a new location. You can display as many of the panels as you need on one window to optimize your workflow. The example shown below includes a Model Actions Button tab, Tabulate Panel, Map Panel, and Plot Panel.
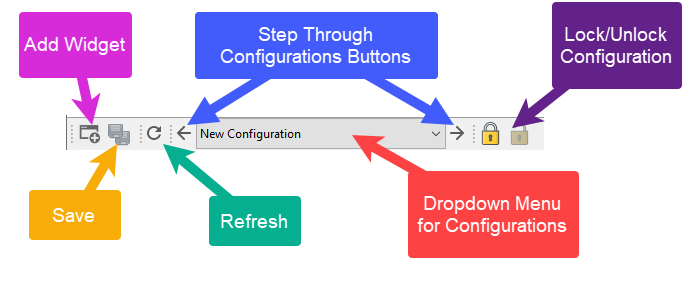
The toolbar can be customized for ease of use. By default, the toolbar has a button to add widgets, save, refresh, step through the configurations, and lock/unlock the current configuration.
To customize the toolbar, right-click in the empty space on the toolbar and select Customize. The Customize Toolbars dialog will appear. The figure below shows some of the options that can be added to the toolbar.
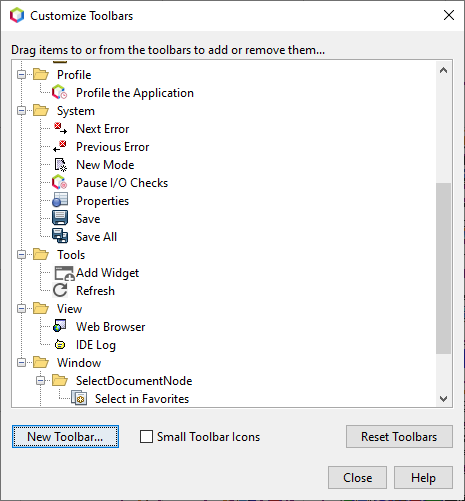
To add the items to the toolbar, you first needs to select the New Toolbar option in the bottom left corner. Once you name the toolbar, you can drag the item from the list to the toolbar. You can create multiple toolbars using this process, and each toolbar can be moved on the main window to help with organization and workflow.