PDF
Download PDF
Download page CWMS Database.
CWMS Database
This section provides you with instructions on creating a data status list from the CWMS database and adding CWMS datasets to an existing data status list.
Creating a Data Status List
To add a dataset from a CWMS database:
- From Data Status Summary dialog (Figure 1), from the File menu, click New. The Data Status Summary dialog will now be blank.
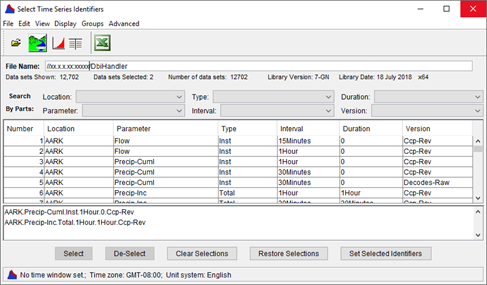
- From the Edit menu, click Browse CWMS Database, the Select Time Series Identifiers dialog will open (Figure 2). The File Name box (Figure 2) will contain the location information of the CWMS database. The Select Time Series Identifiers dialog displays the available datasets in the CWMS database.
- To add time series datasets to a data status list, highlight a row(s) in the table, click Select, your selection(s) will display in the selection box (Figure 2).
Since the CWMS database can contain many datasets, to assist you in finding your locations, several filter lists are available in the Search By Parts area of the Select Time Series Identifiers dialog (Figure 2). Following is a description of the filter lists that are available:
Location Physical location where data is collected. Parameter Indicates the type of gage, such as precipitation or temperature. There is a hardwired list of parameter IDs in the CWMS database. Type Indicates whether the reading is instantaneous, total (cumulative), maximum, minimum, average, or constant. Interval Specifies the interval between readings, or how often readings are taken. Duration Indicates how long it takes to record a data point; an instantaneous interval requires duration of zero. Version Designates the data stream with which the time series is associated. - When you are finished selecting your datasets, click Set Selected Identifiers (Figure 2). The Select Time Series Identifiers dialog will close, and the Data Status Summary dialog (Figure 1) will contain the selected datasets.
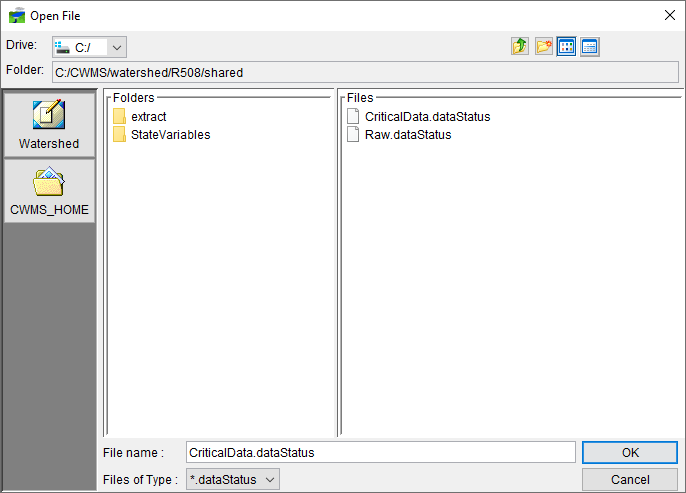
- To save the data status list, from the File menu (Figure 1), click Save. A Save File browser will open (Figure 3). In the File name box (Figure 3), by default, CWMS will save to the default data status list (dataStatus). If you want to save to the default data status list, click OK. The Save File browser will close (Figure 3), an information window will display telling you that the data status list has been saved. Click OK, the information window will close, and the default data status list (CriticalData.dataStatus) will now contain your selected datasets.
- If you do not want to save to the default data status list, from the Save File browser, enter a name in the File name box (Figure 3). The Folder box (Figure 3) will contain the default location where the new data status list will be saved. Click OK, the Save File browser will close (Figure 3), an information window will display telling you that the data status list has been saved. Click OK, the information window will close.
Adding CWMS Datasets to a Data Status List
To add datasets to a data status list:
- From the Data Status Summary dialog (Figure 1), from the File menu, click Open, and an Open File browser (Figure 3) will open. From the Files box select a data status list from the available files. Click OK, the Open File browser will close, and the selected data status list will display in the Data Status Summary dialog (Figure 1).
- From the Edit menu, click Browse CWMS Database, the Select Time Series Identifiers dialog will open (Figure 2).
- To add datasets, highlight the datasets in the table by clicking on a row, click Select, the selection will display in the selection box (Figure 2). Continue adding datasets by selecting them in the table and clicking Select.
- When all datasets have been selected, click Set Selected Identifiers. The Select Time Series Identifiers dialog will close (Figure 2).
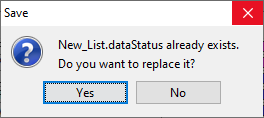
- From the Data Status Summary dialog (Figure 1), click Save. A Save window will open (Figure 4). The Save window is asking do you want to replace the selected data status list. Click Yes, the Save window will close, and an information window will open. This window lets you know the selected data status list has been saved. Click OK, the information window will close.