Download PDF
Download page Computation Points0.
Computation Points0
Computation Points are locations where time-series information will be computed for possible exchange between models (e.g., ResSim and FIA). ResSim automatically generates computation points when projects are placed on the Stream Alignment so you should create computation points at locations that are not project related such as inflow and gage locations, control points, and confluences.
Drawing Computation Points
To draw a Computation Point:
- Using the Computation Point Tool
 , hold down the Ctrl key and click at the desired location on the Stream Alignment where you want a computation point.
 A Name… dialog will appear ("Figure: Name New Computation Point Dialog"). Enter a Name for the computation point and an optional Description. When you are finished, click OK.
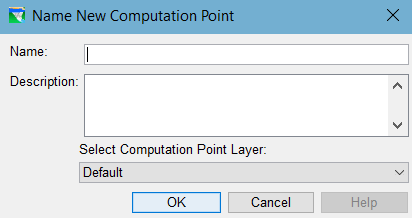
Figure: Name New Computation Point Dialog
The new computation point will appear in the Map Display. By default, computation points snap to the Stream Alignment. If you prefer that the computation point not exist on the Stream Alignment, de-select the Snap to Stream Alignment check box in the Computation Point Properties Editor.
Importing Computation Points
Another way to create computation points is to import them from a point shapefile. The shapefile must be an active map layer in the watershed. To import computation points:
From the Watershed menu, select Import, then select Computation Points … from the Import submenu. The Import Computation Points importer will open ("Figure: Computation Point Importer").
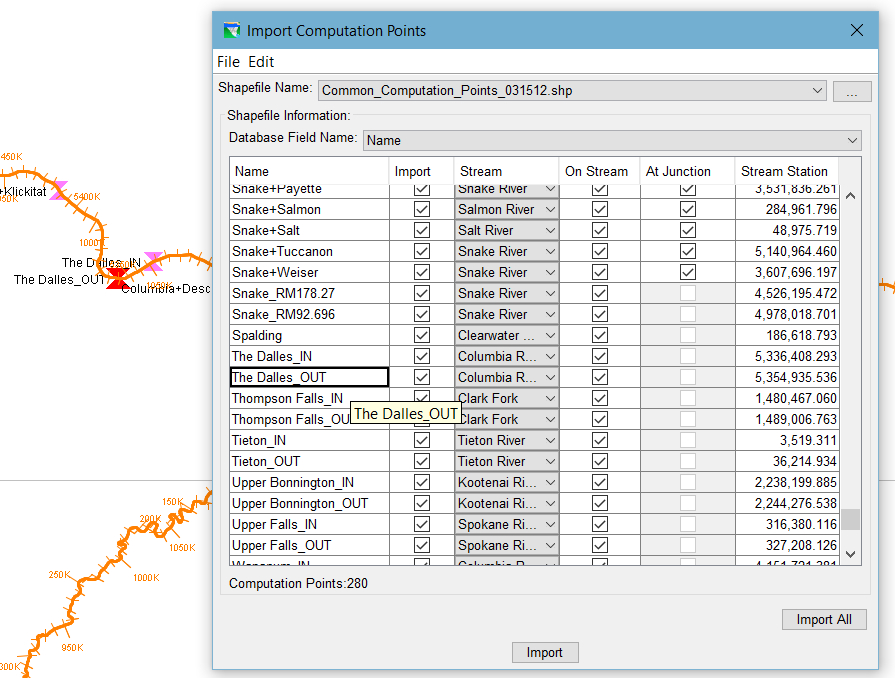
Figure: Computation Point Importer
- Select the attribute in the Database Field Name selector that identifies the individual computation points. The table will fill with information about the points in the shapefile including the value of the selected attribute in the Name column, the stream in the Stream Alignment that it will import to, whether the point is at a stream junction in the Stream Alignment, and its stream station.
- The Import column in the table is for you to edit—use it to select or de-select the point you want imported. If you want them all, click Import All.
Like the Stream Alignment Importer, you can locate the individual computation points on the map by selecting them in the list. The selected point will highlight in Red on the Map Display.
Once you have identified which points to import, click Import. The Importer will close, and you will get a message box telling you how many computation points imported ("Figure: Successful Import Message").
Figure: Successful Import Message
Editing Computation Point Data
Use the Computation Point Editor to edit a Computation Point:
- Using the Computation Point Tool , right-click on the computation point.
Select Edit Computation Point from the context menu. The Computation Point Properties Editor ("Figure: Computation Point Editor") will appear.
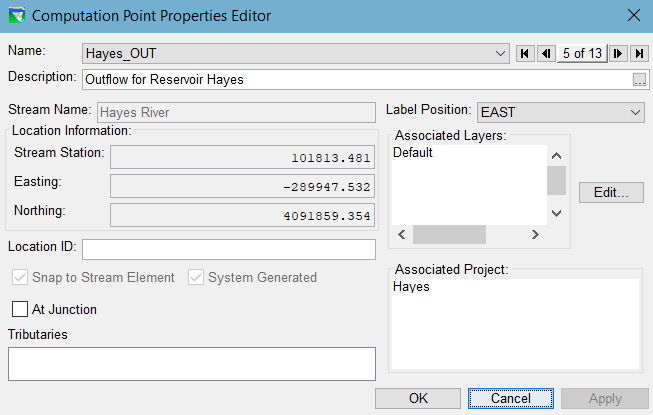
Figure: Computation Point Editor
The Computation Point Properties Editor displays information associated with a Computation Point and allows you to edit its location information.
Computation Point Name: The Computation Point Editor displays the name of the Computation Point you have selected (in the list along with all available Computation Points in the watershed). Also, left and right arrows allow you to click through the Computation Points in the watershed.
Description: To edit the Description of the computation point, click in the text box and start typing or click the ![]() button to access the larger Enter Description dialog.
button to access the larger Enter Description dialog.
Stream Name: The stream name automatically appears in the Stream Name box. In the case of a computation point situated at a confluence of two streams, you need to verify that the computation point resides on the appropriate stream.
Label Position: ResSim automatically positions the text label for a computation point where it is least likely to overlap other labels. However, you can move the position of the layer by selecting a position from the Label Position list.
Location Information:
Stream Station: The Stream Station field displays the location of the computation point along the stream element.
Easting / Northing: ResSim automatically fills in the coordinate information. You may type in new coordinates to relocate the computation point on the map display.
Location ID: Optionally, you can enter a Location ID to reference the computation point to a ResSim ID.
Snap to Stream Alignment: By default, each time you can draw a computation point, it will snap to the nearest stream in the Stream Alignment. If a computation point is snapped to the stream alignment, only the Stream Station of its location information can be edited. If you want the point located off-stream, uncheck this checkbox. An off-stream computation point does not have a valid Stream Station, but its Northing and Easting values can be edited to move the point to the exact position you desire.
System Generated: ResSim automatically generates computation points for the watershed when you create certain project elements. The System Generated checkbox will be checked if the computation point has been generated with a project element. This checkbox is not editable. If checked, the relevant project should be listed in the Associated Project field.
Renaming a Computation Point
To rename a Computation Point or edit its description:
- Select the Computation Point Tool and right-click on the Computation Point.
- Select Rename Computation Point…
Use the Rename dialog ("Figure: Rename Computation Point") to edit the Name and Description. Click the
 button to access the Enter Description dialog for longer descriptions.
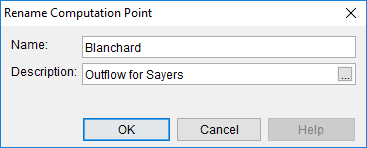
Figure: Rename Computation Point
Deleting a Computation Point
To delete a Computation Point:
- Select the Computation Point Tool and right-click on the Computation Point.
- Select Delete Computation Point from the context menu. The Confirm Deletion dialog will appear.
- Click Yes to confirm the deletion.