By default, each reservoir in your network makes a release decision for every computation interval (timestep). By activating the Decision Schedule feature, you can specify a different decision interval or a decision schedule for each reservoir. By changing a reservoir's decision interval, you are telling the reservoir to evaluate conditions over a different or varying time horizon to determine its releases; within the release capacity of the reservoir, each release decision will be held constant until the next decision. Your selection of the decision interval should be appropriate for the compute interval of the simulation.
To activate the Decision Interval feature for a reservoir:
Open the Reservoir Editor.
Select the reservoir to receive the credit.
Select the Operations tab.
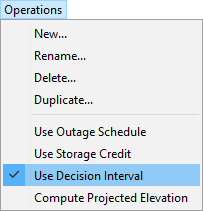
From the Operations menu, select Use Decision Interval. The Dec. Sched sub-tab will become active and a check mark will appear in the Operations menu in front of the Use Decision Interval option to indicate that the Decision Schedule feature is ON ("Figure: Reservoir Editor - Operations Menu - Use Decision Interval").
Figure: Reservoir Editor - Operations Menu - Use Decision Interval
The Dec. Sched. sub-tab contains the Decision Schedule edit panel. Use this editor to specify the decision interval or schedule.
To specify the reservoir decision interval or schedule:
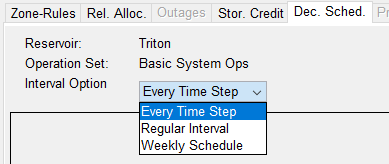
Select an Interval Option from the list. Your three options are:
Every Time Step—this is the default and what ResSim does when the Decision Schedule feature is OFF.
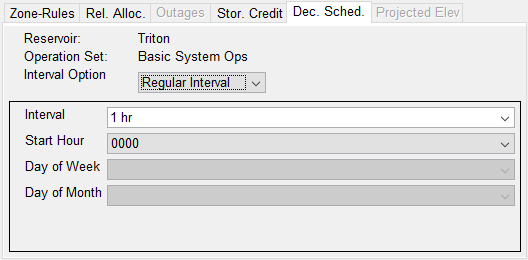
Regular Interval—use this option if you want the reservoir to make its release decisions on a larger interval than the current timestep. The lower panel of the editor will fill with four options for defining the new decision interval ("Figure: Decision Schedule Edit Panel - Regular Interval Option").
Interval—this is the amount of time between release decisions. You can choose from the following intervals: 1 hr, 2 hr, 3 hr, 4 hr, 6 hr, 8 hr, 12 hr, Daily, Weekly, and Monthly. But, be careful—you should only select a decision interval that is a multiple of the current timestep. For example, if the timestep is 6 hours, then valid decision intervals include 12 hr, Daily, Weekly, and Monthly.
Start Hour—this is the time of the first decision. You can select from 0000 to 2300.
Day of Week—if you chose Weekly Interval, this is the day of the week when each decision will be made.
Day of Month—if you chose Monthly Interval, this is the day of the month when each decision will be made.
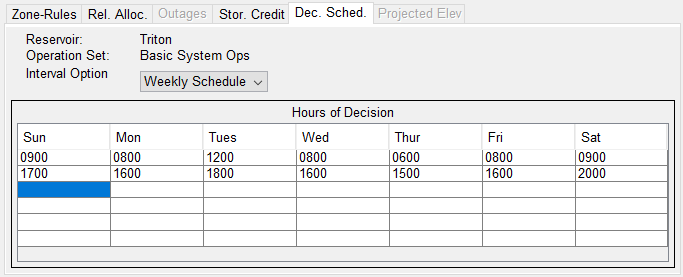
Weekly Schedule—use this option if you want to specify an irregular schedule for making release decision. The lower panel of the editor will fill with a 7-column table, one column for each day of the week. In the cells of the table, enter the time(s) of day when the reservoir should make a release decision. The time entries must be entered as values from a 24-hour clock—that means values between 0000 and 2359. And, you should only enter times that coincide with compute intervals. NOTE: When entering times into the Weekly Schedule, a whole row must be complete. That means that if one day a week you want 2 decisions made, then every day, two decisions must be made; however, the times of each decision on each day need not be the same. "Figure: Decision Schedule Edit Panel - Weekly Schedule Option" illustrates an example of an irregular Weekly Schedule with two decisions schedule each day.
When you are finished specifying the Decision Schedule, clickApply to accept the Decision Schedule and keep the Reservoir Editor open. Or, clickOK to accept the revisions and close the Reservoir Editor.