Terrain Grids
Terrain data is required in HEC-FIA to assign elevations to structures. HEC-FIA accepts terrain data in the following formats (review Map Layer Formats for descriptions of the supported terrain formats):
- GeoTiff (*.tif)
- Ascii Format (*.asc)
- Floating point binary (*.flt)
- Segmented Multi-Resolution Multi-Parameter (SMRMP) grid format (*.smrmp)
- Virtual format (*.vrt)
The GeoTiff format is the recommended format and a user should convert the other gridded data types to the GeoTiff format. Note that no conversion process has been developed for *.smrmp to any other file format. NOTE: Since terrain files are typically large HEC-FIA does not copy terrain files to the maps directory. Therefore, if the user wishes to include terrain files with the final HEC-FIA project to others, the terrain files need to be copied to the maps directory manually.
To add a GeoTiff terrain grid:
From the Study Tree, which is in the Study Pane, from the Watershed folder, right-click on the Terrain Grids folder. From the shortcut menu, click Add Terrain Model; the Open Browser opens.
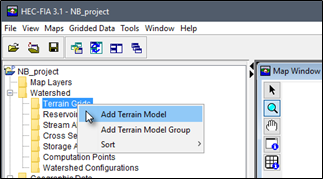
Figure: Terrain Grids - Shortcut Menu Commands
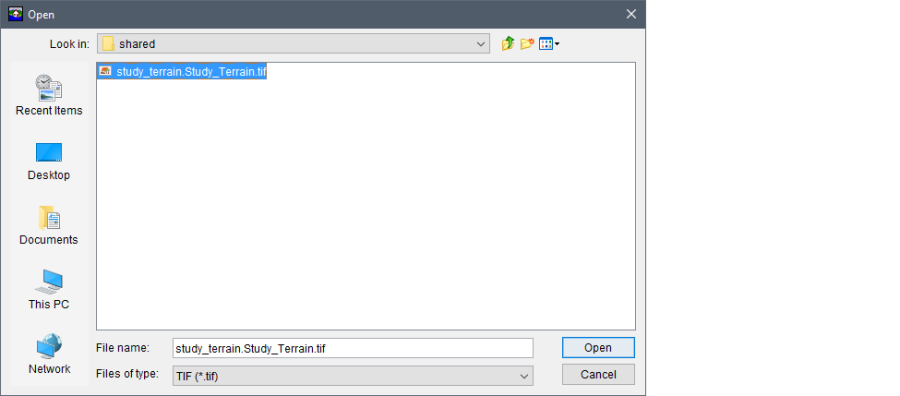
Figure: Open Browser Window
- Browse to the location of the desired terrain grid. Note the default file type is TIF (*.tif).
- Select the appropriate type from the Files of type list. When the user chooses the appropriate file, the name of the file appears in the File name box (i.e., study_terrain.Study_Terrain.tif). To select the file, click Open.
- The Open Browser closes, a map window opens in the Desktop Pane, displaying the terrain grid, and the name of the terrain grid displays in the Study Pane under the Watershed folder, under the Terrain Grids folder.
To display elevation values from the terrain grid, use the Grid Query Tool
 available from the map window Toolbar. To display the elevation for a given point, select the Grid Query Tool, click on a location on the terrain grid, a tooltip displays the elevation for that location.
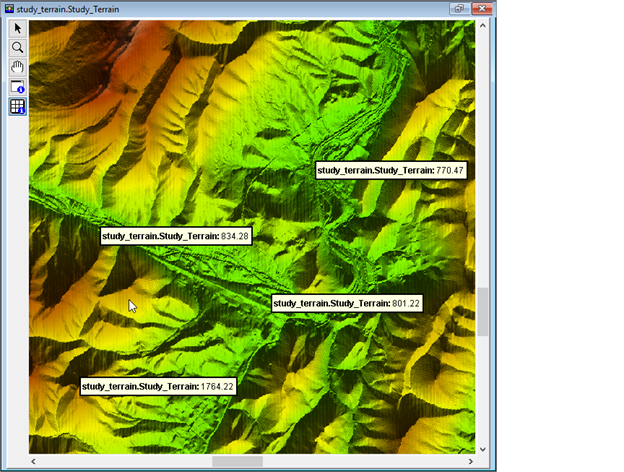
Figure: Map Window - Grid Query Tool
To clear the elevation labels, zoom or pan in the map window. Alternatively, from the Study Tree, from the Watershed folder, from the Terrain Grids folder, right-click on the filename of the terrain grid. The terrain grid shortcut menu displays. From the terrain grid shortcut menu, click Clear elevations and depth query results, the elevations are cleared from the map window.
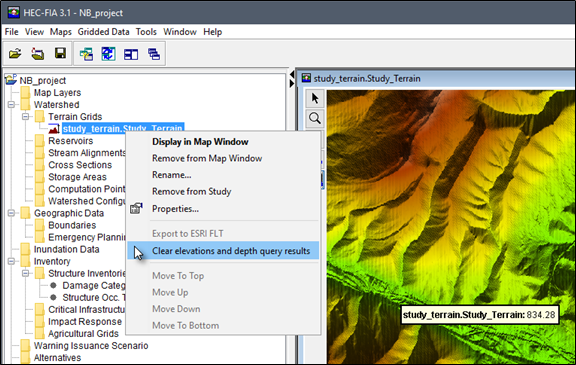
Figure: Terrain Data - Shortcut Menu Commands
To add a non-GeoTiff terrain grid:
When a non-GeoTiff (i.e., .flt, .asc) terrain grid is selected, a Message dialog opens. The Message dialog is letting the user know that the selected file is not a GeoTiff file, and asks if the user wants to convert the selected file. This conversion is not required, but is recommended. HEC-FIA runs more efficiently with grids that are converted to the GeoTiff format, especially large grids
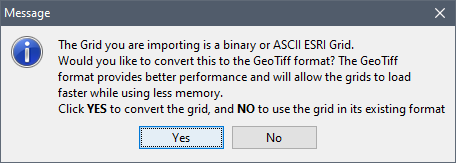
Figure: Message Dialog - Conversion of Non-GeoTiff Terrain Grid
Note, if the supplied grid uses an unsupported projected or geographic coordinate reference system, then the conversion to GeoTiff will fail. If HEC-FIA cannot convert the provided terrain then users can either import the terrain without converting the grid, or convert the gridded data to the GeoTiff format utilizing a geographic information systems (GIS) software.- Click Yes, the Message dialog closes and a progress dialog box opens displaying the progress of the GeoTiff conversion process. This process could take several minutes depending on the size of the grid.
- When the conversion is finished, the progress dialog box closes. The terrain data is now displayed in the map window and the name of the terrain file appears under the Terrain Grids folder on the Study Tree. The terrain file is created at the same location as the original non-GeoTiff grid.
Note, terrain files can be large, and drawing the terrain in a map window can use a large percentage of the available memory allocated to HEC-FIA. Typically, performance will improve if the terrain is turned off. To turn off the terrain display, from the Study Tree, from the Watershed folder, from the Terrain Grids folder, right-click on the filename of the terrain grid and click Remove from Map Window from the terrain grid shortcut menu. Click Yes, to confirm the removal of the terrain file from the active map window. This does not remove the terrain from the study, but simply removes the terrain from the map window.

Figure: Terrain - Remove from Map Dialog Box