Download PDF
Download page Creating a New Meteorologic Model.
Creating a New Meteorologic Model
Last Modified: 2025-01-27 08:14:45.106
Software Version
HEC-HMS version 4.13 beta 4 was used to create this tutorial. You will need to use HEC-HMS version 4.13 beta 4, or newer, to open the project files.
Project Files
If you are continuing from Creating a New Basin Model, you may continue to use your current project files. Otherwise, download the initial project files here:

Overview
In this tutorial you will create a meteorologic model. You will link the meteorologic model to a basin model and then parameterize a method for computing basin average precipitation. This tutorial only shows one of the precipitation methods in HEC-HMS. There are many additional methods for computing basin average rainfall, applying gridded precipitation, and for simulating evapotranspiration, and snowmelt processes.
Steps
- If you are starting this tutorial as a continuation of the previous tutorial, unzip the data folder into your project folder and continue. Otherwise, open the HEC-HMS project named Punxsutawney.
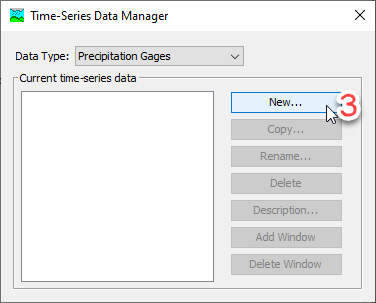
- Create a new precipitation gage. Go to the Components menu and select the Time-Series Data Manager option. In the manager window, press the New… button to create a gage; the window for creating a gage will open.
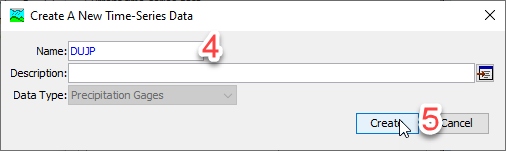
- In the new gage window, change the default name (Gage 1) to DUJP. Press the Create button to create the new gage; it will automatically be added to the Watershed Explorer. You can leave the manager window open since it will be used again shortly.

- Set up the data source. Go to the Watershed Explorer and click on the new gage you just created. Change the data source from Manual Entry to Single Record HEC-DSS (HEC-Data Storage System).
- Select the Correct External Data Source. You can click on the select button next to the filename field to navigate to the file. The file is located in the data subdirectory of the project: /Punxsutawney/data/observe.dss.
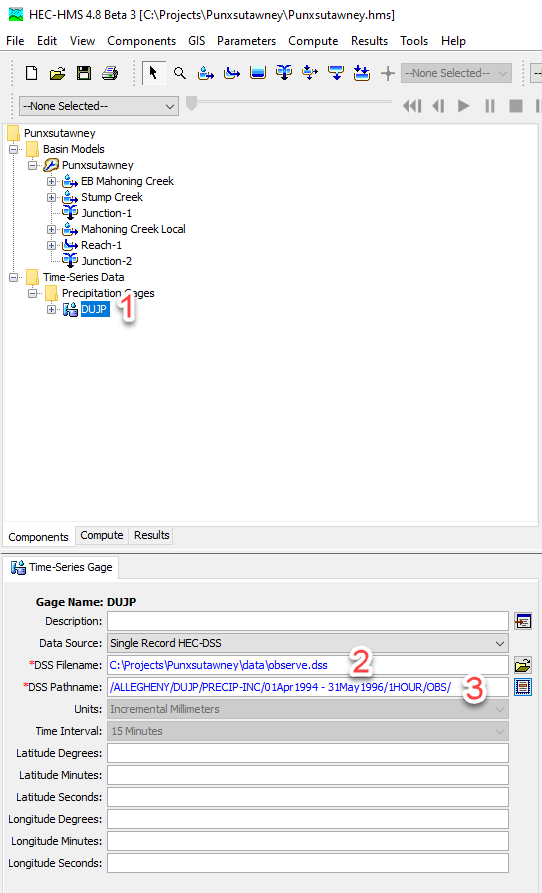
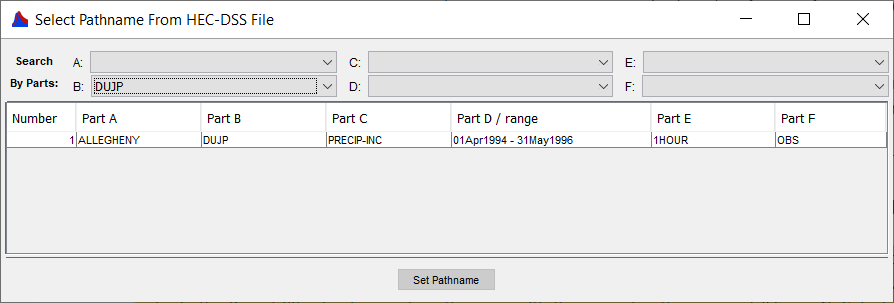
- Select the Correct Pathname. Click on the select button next to the pathname input field to navigate to the pathname. Use the B-Part filter in the search By Parts area near the top of the screen. Select the DUJP entry in the B-part filter to show only pathnames with the correct pathname part shown in the figure below.
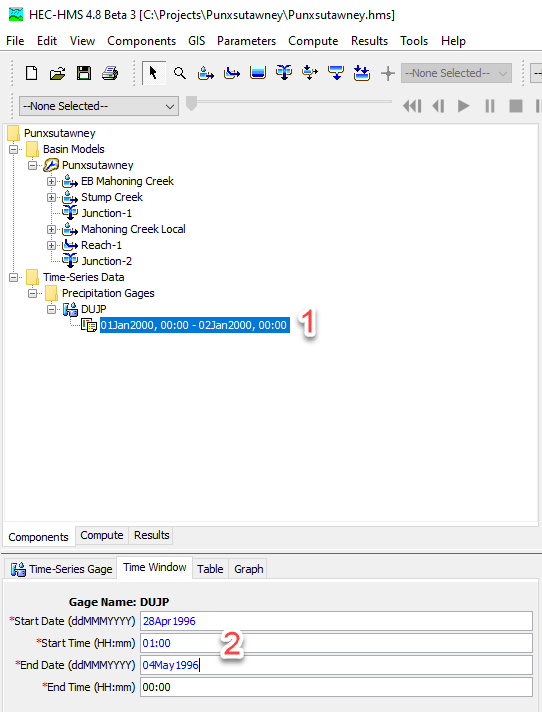
- Change the Default Time Window to inspect some of the data. In the Watershed Explorer, click on the time window under the DUJP gage icon. In the Component Editor, change start date to 28Apr1996, the start time to 01:00, the end date to 04May1996, and the end time to 00:00. Click on the "Table" and "Graph" tabs in the Component Editor to see the data.
- You have finished setting up the DUJP time-series precipitation gage. We will use the gage later by referring to it by name. Now repeat steps 2 to 7 to create the PNXP and MFFP gages. All of the precipitation data is now ready to use. You can commence with building the meteorologic model.
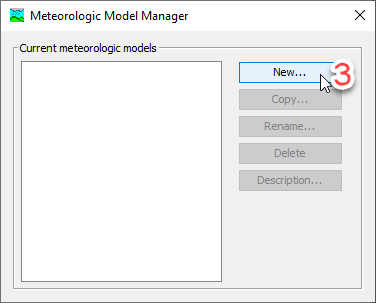
- Create a New Meteorologic Model. Click on the Components menu and select the Meteorologic Model Manager option; the meteorologic model manager window will open. Press the New… button to create a new meteorologic model.
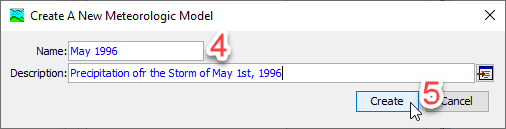
- Change the default name (Met 1) to May 1996 and enter a description of Precipitation for the Storm of May 1st, 1996. Press the Create button to create the new meteorologic model.

- Go to the Watershed Explorer and click on the new meteorologic model. Switch to the Component Editor and make sure the precipitation method is set to Specified Hyetograph. Other meteorologic model methods should be set to --None--.

- Connect the meteorologic model to the subbasins in the basin model. Go to the Basins tab in the Component Editor. For the Punxsutawney basin model, change the Include Subbasins choice to Yes.

- Select a precipitation gage for each subbasin. Return to the Watershed Explorer and click on the precipitation node under the meteorologic model. Referencing the table below, select the correct gage for each subbasin using the Component Editor.

You do not need to enter total depth values for the subbasins.Subbasin Precipitation Gage
EB Mahoning Creek
MFFP Stump Creek DUJP Mahoning Creek Local PNXP
Summary
In this tutorial you created a meteorologic model for the project. The meteorologic model uses the specified hyetograph precipitation method. Precipitation gages were added to the project and linked to the meteorologic model.
Continue to Creating a New Control Specifications