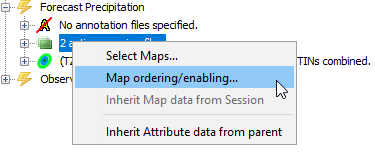
By default, maps are displayed in a map window in the same order that they are specified. Many times, more control is needed over the map layering. In the map windows, all maps are drawn in a single layer in the order specified (One of several layers drawn in the Map Window). Ordering maps can be done by right-clicking on the appropriate map node in the Project Explorer, as shown in the figure below.
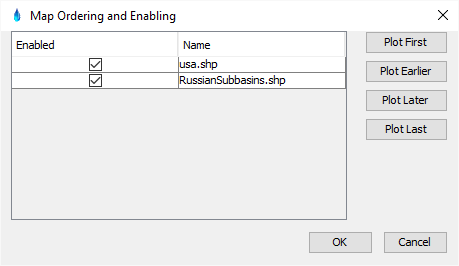
The above menu selection brings up the dialog shown below. This dialog can be used to do two things:
Order the maps in the necessary order, by highlighting one or more maps and then using the four buttons on the right to move them to the desired position
Enable and disable the maps to control their visibility in the Map Windows
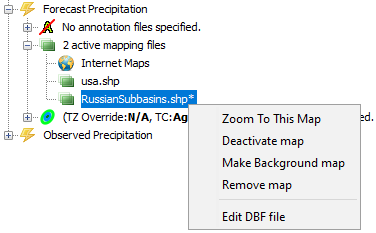
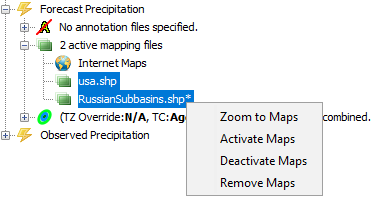
There is a second method for enabling or disabling the maps. Right-click on the desired map and either activate it or deactivate it. Multiple map selection can be performed by left mouse button clicks while holding down the shift key, to select a continuous range, or the holding down the control key, to select non-continuous nodes. Once selected, right-click the mouse to bring up the context menu, and the desired operation can be selected from the options shown below.
In addition to the methods above for loading maps, it is also possible to drag a shapefile (*.shp) and drop it on the map window. Dropping a shapefile on the Map Window will add that shapefile to the list of maps displayed.