Return to Creating and Calibrating the Oct2010 Simulation

Last Modified: 2023-06-20 15:31:32.213

Software Version

 HEC-HMS version 4.11 was used to create this tutorial. You will need to use HEC-HMS version 4.11, or newer, to open the project files.

Project Files

If you are continuing from Creating and Calibrating the Oct2010 Simulation you can continue to use your current project files. Otherwise download the initial project files here:

MagatRv_Calibrated.zip 

Compute the Automated Forecast

  1. From the Compute menu, select Forecast Alternative Manager.
  2. In the Forecast Alternative Manager, select Auto.
  3. On Step 1 of the Create a Forecast Alternative wizard, use the default name which corresponds to the current date/time. Click Next.
  4. On Step 2 of the Create a Forecast Alternative wizard, select the MagatRv basin model that has been created. Click Next.
  5. On Step 3 of the Create a Forecast Alternative wizard, make no selections. Click Next.

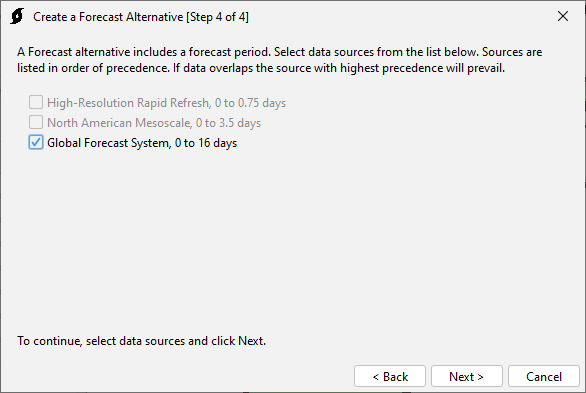
    There are not currently any look back period datasets for international locations in the HEC-HMS Automated Forecast. Look back period datasets help establish initial conditions for the forecast simulation. With a good knowledge of soil moisture state at the time of forecast, the look back period can be avoided, but standard practice for USACE is to initialize forecasts with a look back period.

  6. On Step 4 of the Create a Forecast Alternative wizard, select Global Forecast System (GFS). Click Next.

    The Global Forecast System (GFS) is a global atmospheric forecast model with forecasted precipitation and temperature for 0 to 16 days from current time.

  7. The Automated Forecast will begin by retrieving forecast data the web:
  8. The Automated Forecast will then import the downloaded data into the HEC-HMS project:
  9. The Automated Forecast will then run a Forecast Alternative with the imported forecast data:
     

View Results

You can view results in HEC-HMS by right-clicking on any element in the Basin Map, and selecting View Results.

  1. Make sure the most recently computed Forecast Alternative is selected in the compute toolbar.
  2. In the Basin Map, right-click on the Inflow element, then select View Results | Graph.
  3. A graph of the forecasted flow is displayed for the Inflow location.

Conclusion

In this tutorial we:

  1. Delineated a Magat River Basin Model,
  2. Parameterized the Magat River Basin Model,
  3. Created boundary conditions for the Magat River Basin Model,
  4. Created and calibrated the Oct2010 simulation,
  5. Ran an automated forecast for the Magat River Basin.

Download final project files here:

MagatRv_Forecast.zip

This concludes the Generating a Flow Forecast for Magat River, Philippines tutorial.