Creating and Managing Analysis Periods
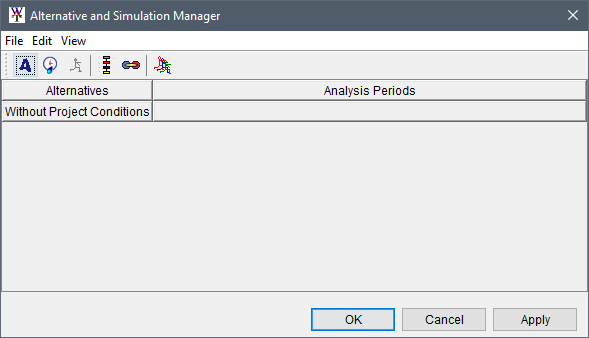
Analysis periods can be managed from different areas in the HEC-WAT framework. From the Study Tree, which is in the Study Pane, or from the Alternative and Simulation Manager.
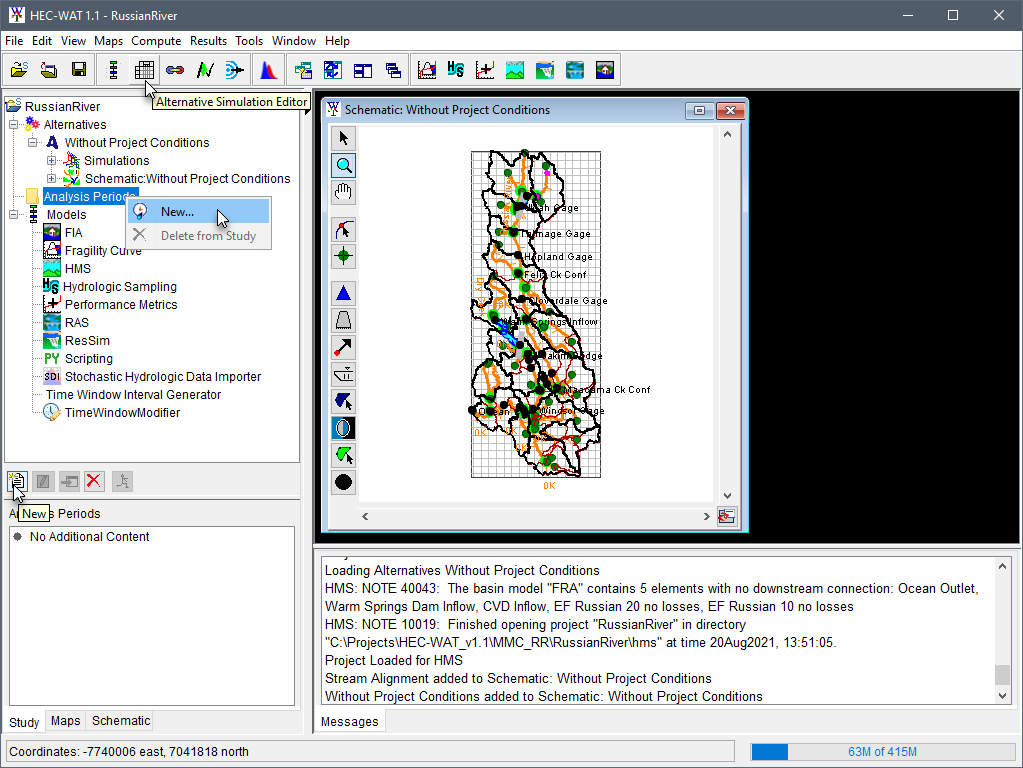
Access the Alternative and Simulation Manager tool, from the WAT Tools toolbar in the HEC-WAT main window by clicking ![]() . Alternatively, select the Alternative and Simulation Manager option from the Edit menu. Both actions elicit the Alternative and Simulation Manager dialog box.
. Alternatively, select the Alternative and Simulation Manager option from the Edit menu. Both actions elicit the Alternative and Simulation Manager dialog box.
Create and Define an Analysis Period
From the Study Tree
Users can create a new analysis period from the Study Pane (Study Tree), one of two ways.
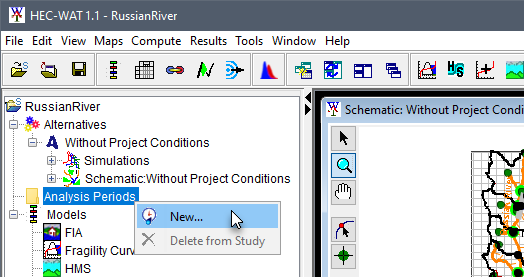
- From the Study Tree in the HEC-WAT main window, right-click on the Analysis Periods folder, and click New from the shortcut menu.
- Alternatively, from the Study Tree, select the Analysis Periods folder and from the Study Pane toolbar, click
 New.
New. - Either way, the Create New Analysis Periods dialog box opens.
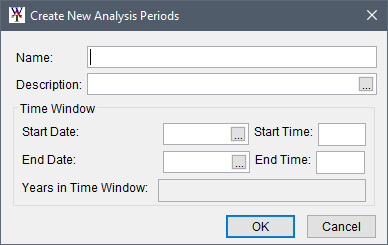
- The steps for creating an analysis period are the same as described in the Define Analysis Period section.
From the Alternative and Simulation Manager
The Alternative and Simulation Manager dialog box can be used for organizing and developing alternatives. Users can create a new alternative from the Alternative and Simulation Manager dialog box, in one of three ways.
- From the Alternative and Simulation Manager dialog box, from the Toolbar, click the Create an Analysis Period
 icon.
icon. - Alternatively, from the File menu, point to Analysis Periods and click New.
- Or, from the table, right-click on the Analysis Period header and click New from the shortcut menu.
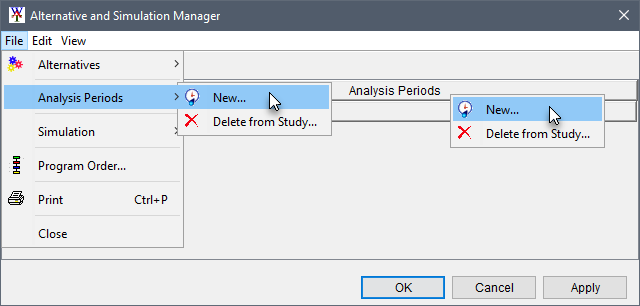
- Either way, the Create New Analysis Periods dialog box opens. The steps for creating an analysis period are the same as described in the Define Analysis Period section.
Define the Analysis Period
To create and define a new analysis period:
- From the Create New Analysis Periods dialog box, enter a name for the analysis period in the Name box (required). Optionally, enter a description in the Description box.
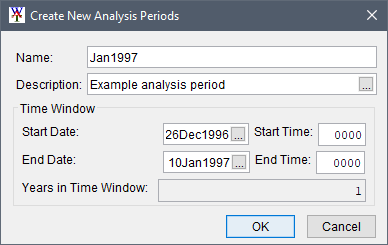
- Enter a Start Date in the format DDMMMYYYY (e.g., 26Dec1996) and a Start Time in the format HHMM (e.g., 0000).
Following the same format as the start date, enter an end date in the End Date box, and the end time in the End Time box.
Click OK, the Create New Analysis Period dialog box closes and the analysis period will appear under the Analysis Period folder of the Study Tree.
Note
The Years in Time Window box will automatically update based on the start date/time and end date/time specified by the user. This feedback was added to help users enter standard lifecycle lengths for an FRA simulation. An analysis period of 50.05 years can lead to 51 flood events within an FRA lifecycle, which may be unwanted. A Years in Time Window of exactly 50 years will result in fifty events within an FRA lifecycle. Note, the minimum value that can be displayed is 1 year.
Edit, Copy, Delete or View Analysis Period Properties
When an analysis period has been created, it is displayed in the Analysis Periods folder of the Study Tree and as a header in the table of the Alternative and Simulation Manager. By right-clicking on an analysis period in the Study Tree, a shortcut menu for the analysis period is presented. From the shortcut menu the user can perform various functions on individual analysis periods. These options include editing the existing analysis period; save as (which is used to copy an existing analysis period); and, deleting the existing analysis period.
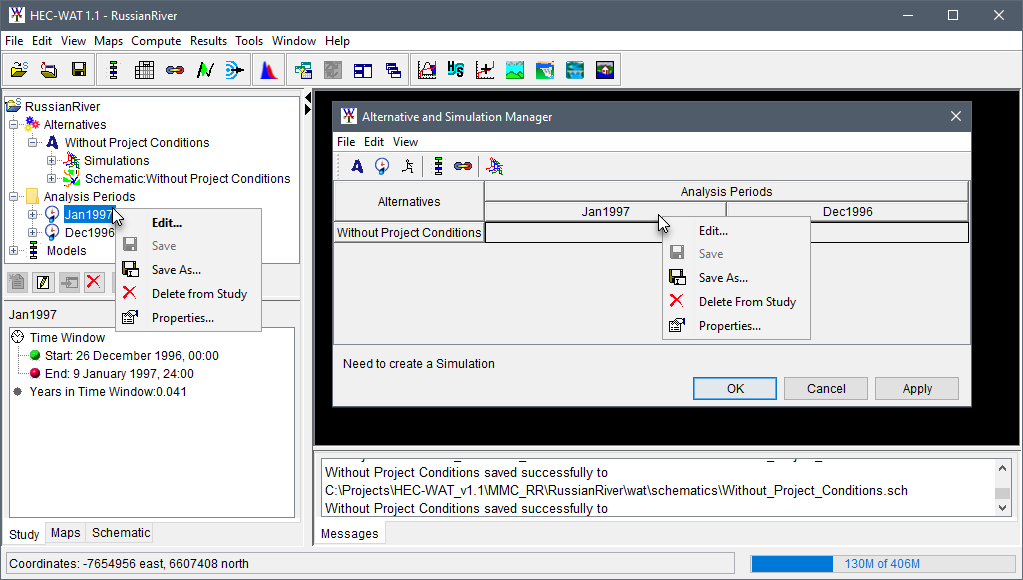
Edit
To edit an analysis period, right-click on the analysis period of interest (from the Study Tree or from the Alternative and Simulation Manager) and click Edit from the shortcut menu. The Analysis Period Editor - <AnalysisPeriodName> dialog box opens.
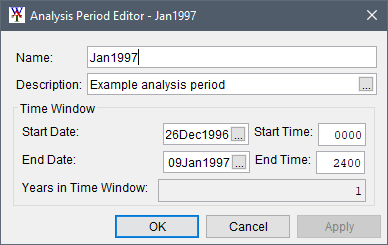
From the Analysis Period Editor dialog box, users can modify the description and the start and end dates and times. Once the edits are complete, click OK to confirm changes and close the Analysis Period Editor.
Save
After using the Analysis Period Editor dialog box to modify an individual analysis period, use the Save shortcut menu command to save the edits.
Save As
To make a copy of an analysis period:
- Right-click on the analysis period of interest (from the Study Tree or from the Alternative and Simulation Manager) and click Save As from the shortcut menu.
- The Save Analysis Period As dialog box opens.
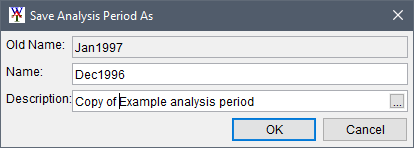
- Enter a name for the new analysis period in the Name box. Either keep or edit the default description in the Description box.
- Click OK, to close the Save Analysis Period As dialog box and create the analysis period copy.
Delete Analysis Period(s)
To remove analysis period(s) from the study:
- Right-click on the Analysis Periods folder in the Study Tree (or from the Alternative and Simulation Manager, from the File menu > Analysis Periods sub-menu) and select Delete from Study to elicit the Delete Analysis Period(s) dialog box.
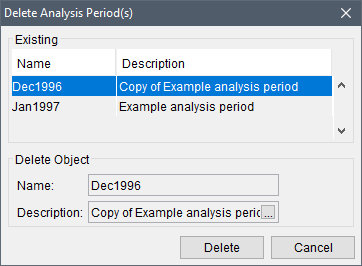
- This dialog box allows the user to delete single or multiple analysis period(s) at one time.
- From the Existing panel select the analysis period(s) to be deleted. The selected name(s) will display in the Name field of the Delete Object panel.
- Click Delete.
- A Warning! message dialog opens, to verify the user wishes to delete the selected analysis period(s); to confirm the removal of the analysis period(s), click Yes.
- The Warning! message and Delete Analysis Period(s) dialog boxes close and the name(s) of the selected analysis period(s) are removed from the Analysis Period folder in the Study Tree.
Alternatively, the user can delete an individual analysis period by right-clicking on the analysis period of interest (from the Study Tree or from the Alternative and Simulation Manager) and clicking Delete from Study from the shortcut menu. A Confirm Manager Delete message dialog opens. To validate the deletion of the identified analysis period, click Yes. The Confirm Manager Delete message dialog closes and the name of the selected analysis period is removed from the Analysis Period folder in the Study Tree.
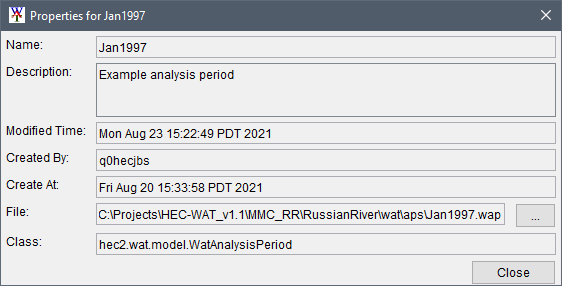
Analysis Period Properties
The properties of an analysis period include the name, description, when the analysis period was modified, who created the analysis period, when the analysis period was created, and the file that contains the analysis period data. Use the Properties shortcut menu command to elicit the Properties for <AnalysisPeriodName> dialog box.
