Option 1 - Create a New Watershed
Creating a new Watershed and new Program Order is the recommended approach for switching to HEC-MetVue. Using the Save As to create a new copy of the watershed is also a viable approach but will require some cleanup of Forecasts and Forecast Runs before changing the Program Order.
Create a New Watershed
- Create a new watershed and import the necessary models (HEC-ResSim, HEC-HMS, etc.) into your new watershed.
- If you would like to create a copy of your existing watershed, then the following steps are needed to clean up the watershed copy:
- Open the watershed you would like to create a copy of, click the Save As option under the File menu, and save the watershed with a new name.
- In the new copy of the watershed, clean up Forecasts, Forecast Runs, and Model Alternatives.
- Delete old Forecasts that include Forecast Runs based on the old Program Order.
- Delete Forecast Runs that are based on the old Program Order.
- Delete Model Alternatives from any program that is going to be removed from the Program Order. For example, if MFP is going to be removed from the program order, delete the MFP Model Alternatives.
Change the Program Order
- Open the new watershed you just created. Within the Setup module, select the Program Order option from the Models menu.

- The Program Order dialog will open.

- Select the top row (MFP) in the Program Order and then choose the Insert Before option under the Edit menu.

- Choose MetVue from the dropdown list in the Select Program dialog. Click OK.

- Select the row from the table with MFP and choose Remove from the Edit menu.
- Click Apply to save your changes and click OK to close the Program Order dialog.
Import an HEC-MetVue Project
If you don't have a HEC-MetVue project to import, follow the directions in Creating an HEC-MetVue Project first.
- From the Setup module, right-click on the HEC-MetVue node and select Import from the shortcut menu.

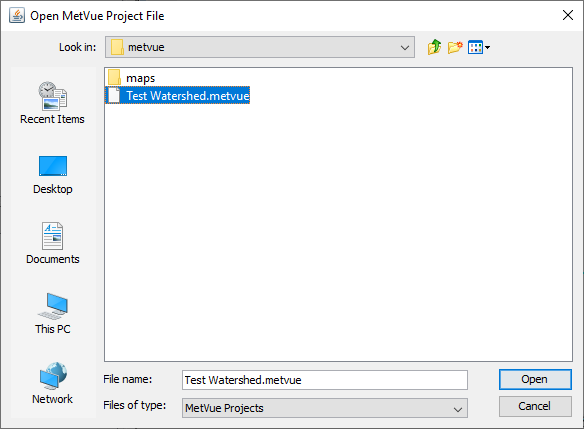
- The Open MetVue Project File browser will open. Navigate to your HEC-MetVue project file, select it, and click Open.
- When the import is complete, a CAVI Alternative will be created for each HEC-MetVue session.
Edit the HEC-MetVue Alternatives
- From the Setup module, expand the HEC-MetVue node. Right-click on a HEC-MetVue alternative and select Edit MetVue Alternative from the shortcut menu.

- The MetVue Alternative Editor dialog will open. Ensure that the Lookback and Forecast checkboxes are correctly set for each of the Map Panels.

- From the Input Settings tab, verify that the input data is set correctly for each map panel.
- Configure the Output Settings tab.

- Add an output Dataset for each required output using the Add button in the upper right corner of the dialog.

- Enter the Dataset name and select the Parameter, Lookback Map Panel, and Forecast Map Panel from the dropdown lists.
- Select the Output Time Interval and Parameter Type from the dropdown lists. Select the appropriate shapefile from the From Map dropdown list.

- Set the output dataset options (DSS Grids, Time Series, or both).

- Click OK to close the MetVue Alternative Editor dialog.
- Add an output Dataset for each required output using the Add button in the upper right corner of the dialog.
Complete the Setup of the CAVI
- Assign model alternative keys to HEC-MetVue alternatives.
- Create a new Forecast Run containing an HEC-MetVue alternative.
- Set up the Extract List to extract data that the HEC-MetVue required alternatives.
- Open the Model Linking Editor and link HEC-HMS inputs to HEC-MetVue outputs.
- Create a new Forecast with a Forecast Run containing an HEC-MetVue alternative.
- Ensure that the data was extracted properly.
- Expand the HEC-MetVue node and click on one of the map panel nodes. The Image below is an illustration of data that loaded properly.

- If the data is not displaying properly, verify that the expected data is in the forecast.dss file and that the HEC-MetVue input settings are correct.
- If the data is not displaying properly, verify that the expected data is in the forecast.dss file and that the HEC-MetVue input settings are correct.
- Expand the HEC-MetVue node and click on one of the map panel nodes. The Image below is an illustration of data that loaded properly.
- Compute the forecast, correct any errors that show up in the compute window, and review the results.