Developing a WAT Watershed Study
This page walks the user through the steps of creating a basic HEC-WAT study with a default base alternative.
Launching HEC-WAT
When starting an officially installed HEC-WAT program, double-click the HEC-WAT icon on a user's desktop, or from the taskbar click Start, point to All Programs, point to HEC, point to HEC-WAT, and then click HEC-WAT. For portable versions of HEC-WAT, navigate to the HEC-WAT.exe in the HEC-WAT directory of the HEC-WAT package.
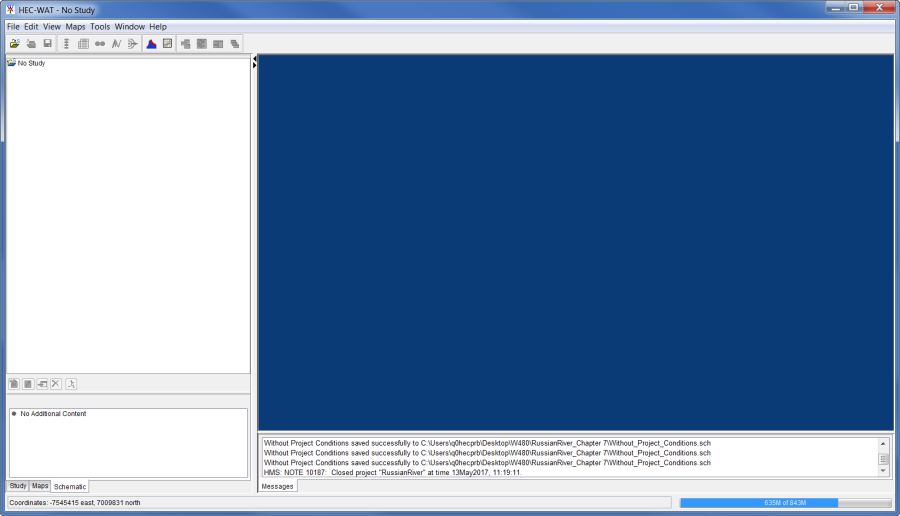
The splash dialog box appears for a few seconds, and then the main window of HEC-WAT appears. The user is now ready to start using HEC-WAT.

Creating a New Study
In HEC-WAT, the set of files associated with a particular water resources study is called a study. When a new study is created, HEC-WAT creates a directory (folder) with the study name specified, and stores all the files associated with the study in that directory. From the HEC-WAT main window, from the File menu, users can create a new study. Review Managing Studies for instructions on opening an existing HEC-WAT study and reviewing the study details.
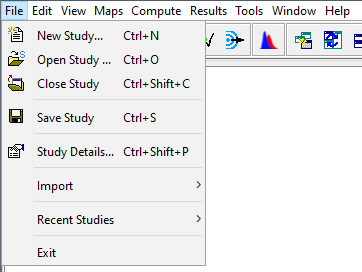
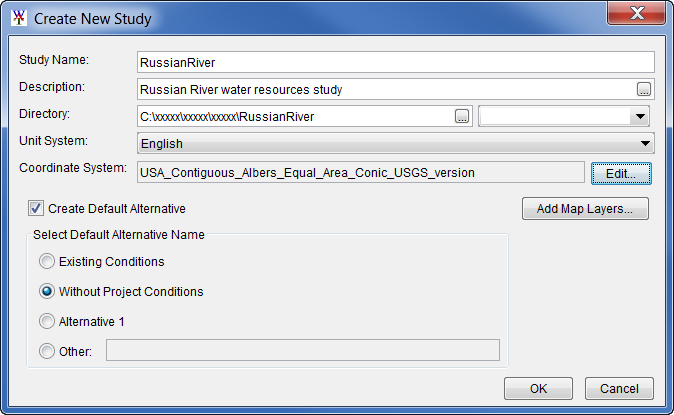
To create the new study, select New Study from the File menu in the HEC-WAT main window, click . This elicits the Create New Study dialog box.
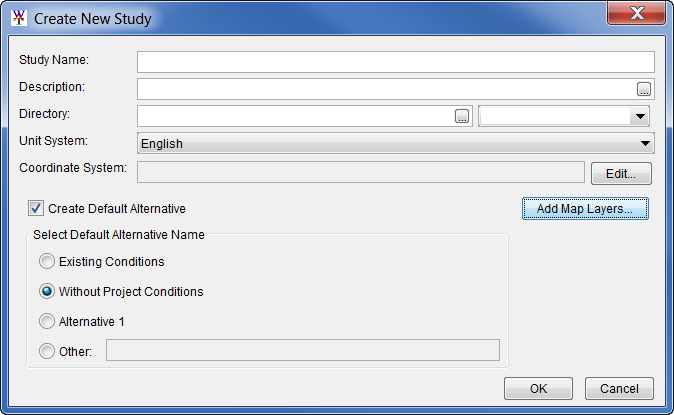
Enter Study Information
- Enter a name in the Study Name box and a description (optional) in the Description box
- In the Directory box click the
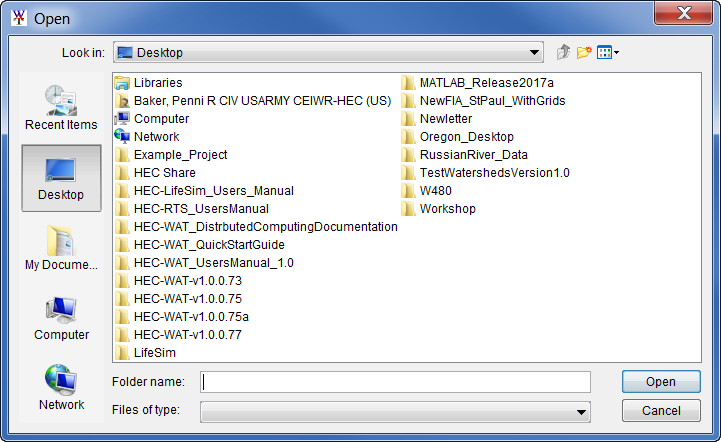
 ellipses button to elicit the Open browser.
 - Navigate to the directory where the HEC-WAT study will be stored, click Open. The Open browser closes and the selected location will display in the Directory box of the Create New Study dialog.
Confirm Unit System
- If the study is not in the default system type of English in the Unit System selection box, change the units to SI (metric).
Define Study Coordinate System
The coordinate system of the study governs the display of projected geospatial data in the map window. HEC-WAT re-projects geospatial data to the project's defined coordinate system.
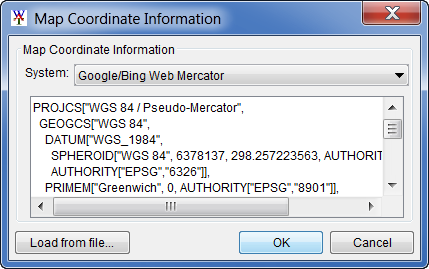
- From the Create New Study dialog box, click the Edit button beside the Coordinate System text box. This elicits the Map Coordinate Information dialog. The dialog box opens with a default coordinate system (Google/Bing Web Mercator). This default coordinate system provides the best performance for display of web-based maps. However, if the user prefers to optimize performance for display of study data that is not in the default coordinate system, it is better to set the projection consistent with the project data instead.
- Click OK to select the default coordination system for the study (Google/Bing Web Mercator), or continue on to select a different projection.
- To change the coordinate system to match project data, click Load from file (lower left corner of Map Coordinate Information); this elicits the Open browser.
- Browse to the location of the map layer (i.e., RR_StreamAlignment.prj) that has the correct projection for the study area.
- Select that map layer.
- Click Open, the Map Coordinate Information dialog box presents the projected coordinate system as Well Known Text (wkt).
- Click OK to close the Map Coordinate Information dialog.
- Now on the Create New Study dialog box, the Coordinate System selection box contains the name of the user-defined projected coordinate system.
Adding Study Maps - Optional
When creating the study, the user can optionally add map layers that define the watershed area. This step can be skipped and any shapefile needed by the user can be added at a later time.
To add map layers as part of creating a new study:
- From the Create New Study dialog box, click Add Map Layers to elicit the Select Map to Add browser.
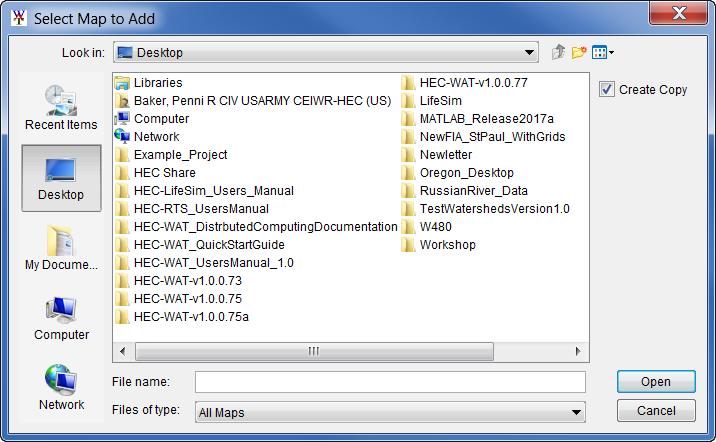
- Check the Create Copy checkbox on the upper right if the user wishes to copy the map layers to the study directory area (strongly advised).
- Browse to where the map layers are located, select the appropriate map layers.
- Click Open, the Select Map to Add browser closes, the files are copied (if selected), and when the study is created these maps will be added to the default map window.
Creating a Default Alternative - Optional
A default alternative can optionally be added during the creation of a project. Additional HEC-WAT study alternatives can also be created and managed later via the Study Tree or the Alternatives and Simulation Manager dialog box. See Creating Additional Alternatives for information on creating, viewing, copying, and deleting alternatives.
To create a default alternative:
- Check the Create Default Alternative checkbox.
- Select the default alternative name based on the four possible options, Existing Conditions, Without Project Conditions (default), Alternative 1, or Other (user defined).
Completing Initial Study Setup
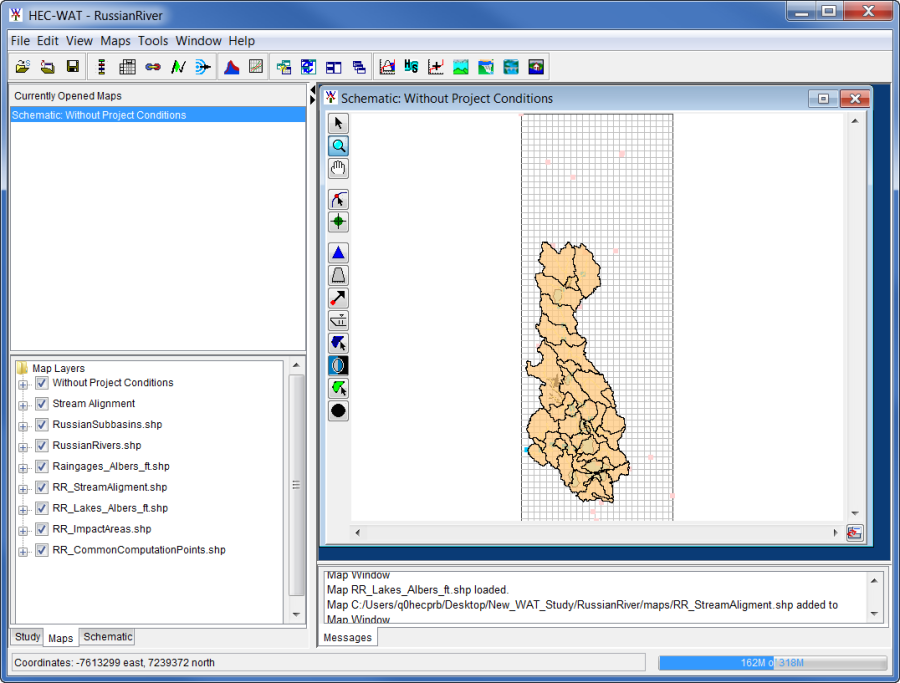
With the new study fully defined, click OK. The Create New Study dialog box closes and the study details are displayed in HEC-WAT. The Title Bar of the HEC-WAT main window displays the name of the study (e.g., RussianRiver), and a schematic map window opens (e.g., Schematic: Without Project Conditions), which contains the map layers that were added to the study.
Next Steps
Now that the new HEC-WAT study has been created, users need to add the major study components:
- Schematic Map Window
- Alternatives – Study Tree (if a default alternative was not added during the creation of an HEC-WAT study)
- Analysis Periods
- Simulations