Task 5: Modeling Module
Compute a Forecast
Now you will attempt to compute a forecast from the CAVI.
- Switch to the Modeling Module.
If you are completing this workshop and not on USACE's network/VPN, follow the steps below before proceeding in the workshop.
- Cumulus is only available for USACE Users, however the precip and airtemp grids for this workshop have already been downloaded for you.
- From the Setup Tab, select "Edit Extract"
- Click on the Cumulus_Precip Extract Group, and uncheck the "Run by Default" checkbox.
- Repeat this step for the Cumulus_Temp Extract Group
- Click on the RTS_Forecast_AirTemp Extract Group, and check the "Run by Default" checkbox
- Repeat this step for the three remaining RTS Extract Groups - RTS_Observed_Airtemp, RTS_Forecast_Precip, and RTS_Observed_Precip
- Proceed with the workshop.
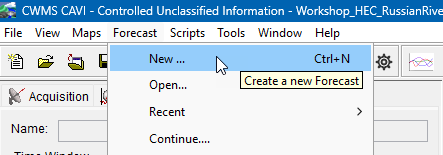
- From the Forecast menu, select New.

- When the Create New Forecast dialog opens, give your forecast a helpful name and description.
- Change the forecast date and time as shown below.

- The default time window is a lookback period of three days and a forecast period of three days.
Forecast Time: 23Jan2024, 06:00
Extract Start: 20Jan2024, 06:00
Start Time: 20Jan2024, 06:00
End Time: 26Jan2024, 06:00After you enter the date and time for the Forecast Time entry, hit the tab key to automatically fill the remainder dates and times to the default forecast time window.
- The bottom of the dialog shows what Forecast Run (sequence of model alternatives) you will use to create the forecast. Select the No Future Rain forecast run.
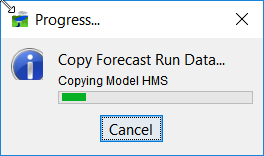
- Click OK to create the forecast. A progress dialog will indicate models are being copied from the watershed directory to the forecast directory (you will learn more about this soon). Additionally, time series and gridded HEC-DSS data are being extracted to the forecast.dss file, so the models can use them during the compute. You will have to select the Certificate Alias and enter your PIN to allow the Cumulus download to begin. You can track the progress of the Cumulus Extract by clicking on the Extract Message Window.

- When the process is complete, right-click on the HEC-ResSim alternative and click Compute (we are only running the HEC-MetVue, HEC-HMS, and HEC-ResSim models in the compute sequence).

- The forecast will compute, and you should not see any red text in the compute messages.
- Red text signifies that one of the applications ran into an issue that will most likely stop the compute.
- Yellow text normally will signify a warning. Something to double back and check, but not something to cause your forecast to stop.
Review the Forecast Results
When the compute completes, it is time to review the results of the forecast run.
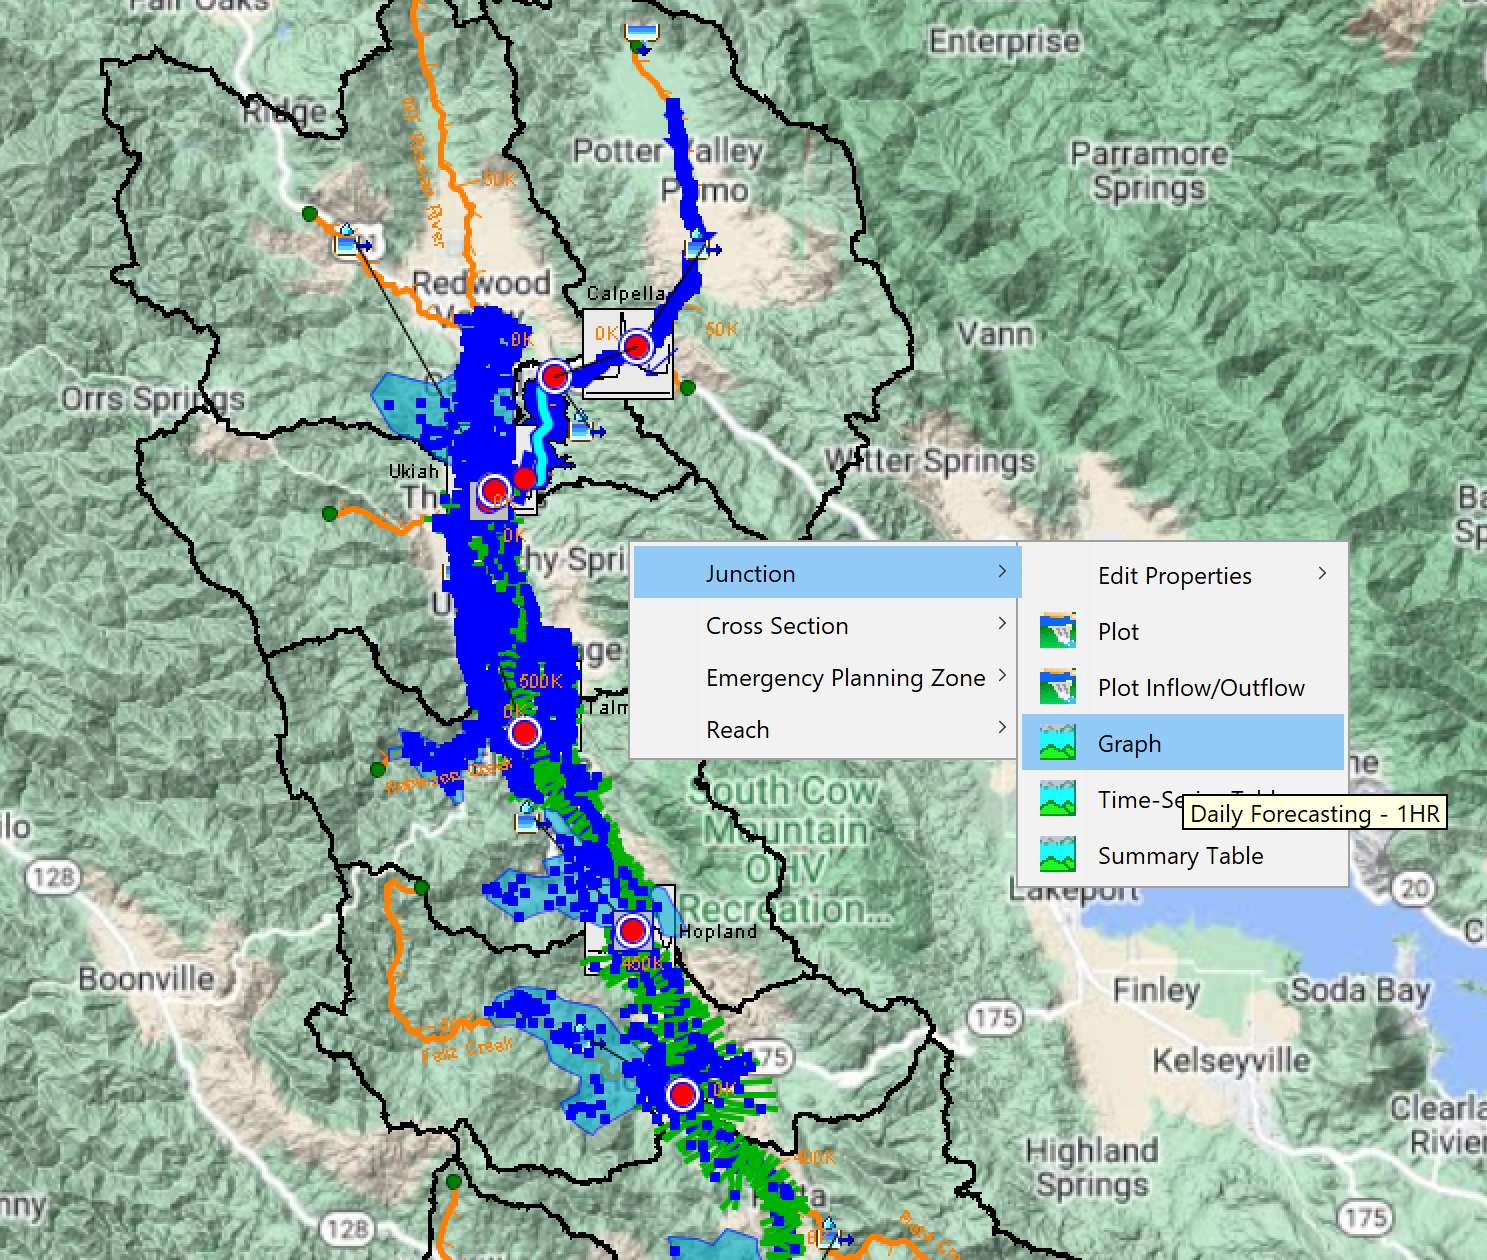
- Right-click on the Hopland junction and select Graph to plot the HEC-HMS results for the location. Review the results of the model run.

- Right-click the Lake Mendocino (Coyote) Reservoir element and view results from the HEC-ResSim model? What was the maximum release from the reservoir during the forecast?